Outlook Express
6.0 for Windows '98, Me and XP Installation Guide with SSL/TLS
This document is intended for those who want to configure Outlook Express 6.0 on a Windows '98, Me or XP system. This software cannot be installed on Windows '95 machines.
Important Note: If your computer is attached to a local area network (LAN), you should contact your LAN administrator or technical support person before downloading and installing this software.
NOTE: For
advanced users who want to quickly configure SSL for their
client, CLICK HERE,
for SSL settings
Contents
- Step 1. Download and Install the Software
- Step 2. Test and Configure Outlook Express for SSL/TLS
- How to Get Help
These steps are explained in detail below. Commands are shown in bold type.
Step 1. Download and Install the Software
Note: Windows XP users should already have Internet Explorer and Outlook Express 6.0. To configure these programs, please go to Step 2.
- Click on the text Click here to start download located on the download Web page (You will need 55 MB for the installed software but 89 MB free during the installation phase).
- Save the file (oe6.zip) to a temporary folder .
- After the download has finished, quit your web browser and disconnect from the UTORdial service.
- Quit any other applications you have running at this time.
- Find the file you downloaded (oe6.zip) and double-click on it.
- You will see a Windows Update window. Read the license agreement carefully and click in the radio button beside "I accept the agreement" and click Next. This initializes the setup.
- You will see a window with two install options. Click in the radio button beside "Install Now - Typical set of components" and click Next.
- You will be notified that the Setup program is preparing to update Windows and a progress indicator will show you the status of the installation. Once the installation is complete, the Setup program will optimize your system.
- You will see a window notifying you that you must restart your computer. Click on Finish. This automatically restarts your computer.
- When your computer is restarting, you will see a number of windows notifying you that Windows is setting up your internet applications. Once this is finished, you should see icons on your desktop for Internet Explorer and Outlook Express.
This completes the installation.
Step 2. Test and Configure Outlook Express for SSL/TLS
If your computer is attached to a local area network (LAN), you should contact your LAN administrator or technical support person before configuring this software.
NOTE: Due to the proprietary nature of this software, you are instructed to type and save your password in the configuration steps below. This is an exception to the guidelines set out by the Information Commons Help Desk and is not normally recommended.
The setup program has installed two separate programs, Internet Explorer (a web browser application), and Outlook Express (a mail and news reader application). You will be configuring Outlook Express.
If you are running Outlook
Express for the first time, an Internet Connection Wizard will appear to help
you set your UTORmail e-mail configuration, your news reader configuration and
a UofT Directory Service.
If you are upgrading from a previous version, your settings may be retained and you may not see the Internet Connection Wizard. If you do not see the wizard, go to item 8 to change any of your settings manually.
NOTE: If you start Outlook Express before dialing-in to your UTORdial account, you may see a window asking you which connection you would like to dial. Select the connection from the pull-down menu and click OK.
- Connect to UTORdial and double-click the Outlook Express icon on your desktop. Alternatively, go to Start | Programs and choose Outlook Express
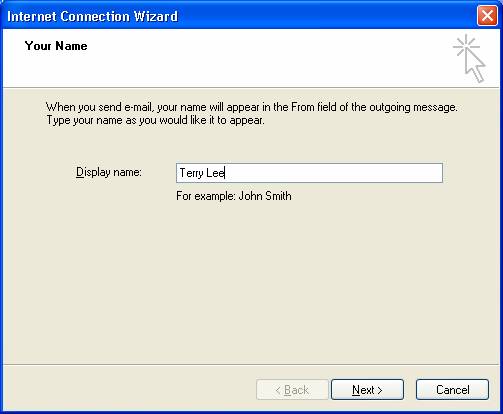
- In the Your Name window, type your full name in the Display Name field. Click Next.
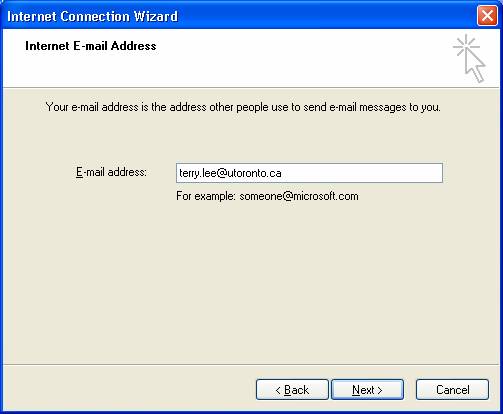
- In the Internet E-mail Address window, type your UTORmail e-mail address in the E-mail Address field. For example: terry.lee@utoronto.ca. Click Next.
- In the E-mail Server Names window, choose IMAP from the drop down menu. In the Incoming mail (POP3, IMAP or HTTP) server field, type mailboxNN.utcc.utoronto.ca where NN is the configuration number assigned to you when you opened your UTORmail account. For example, if your configuration number is 100, the entry would be mailbox100.utcc.utoronto.ca
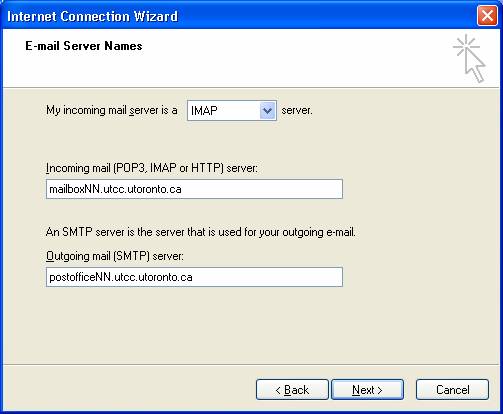
- In the Outgoing mail server field, type postofficeNN.utcc.utoronto.ca
again substituting the NN for your configuration number. Click Next. For
example, if your configuration number is 100, the entry would be
postoffice100.utcc.utoronto.ca
Click Next.
NOTE: If you are using an Internet Service Provider other than UTORdial or the UofT connection through Sympatico HSE, you may have to use that provider's Outgoing mail server (also referred to as an SMTP server). A number of ISPs have begun to require this as a way to control certain kinds of email abuses. Check with your provider.
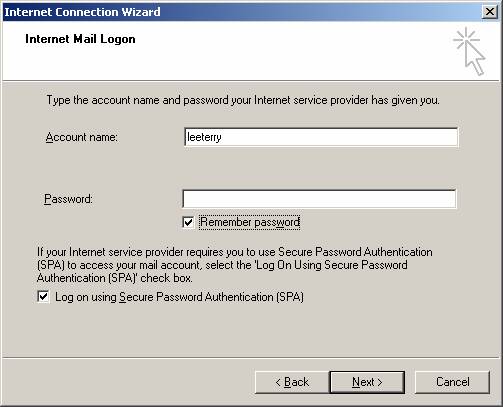
Click Next - In the Internet Mail Logon window, the option Account Name should be chosen and the first part of your UTORmail address (usually of the form firstname.lastname) should appear in the Account Name field. Delete it and type your UTORid. You were assigned a UTORid when you created your mailbox. If you don't remember your UTORid, you can find it by using a web browser and linking to https://www.utorid.utoronto.ca/ and click on Get Information. Once you have your UTORid you can return and configure the e-mail account properly. Type your password in the Password field. Leave the check mark in the box beside "Remember my password".
- Check the Log on using Secure Password Authentication (SPA) checkbox.
- Click Next.
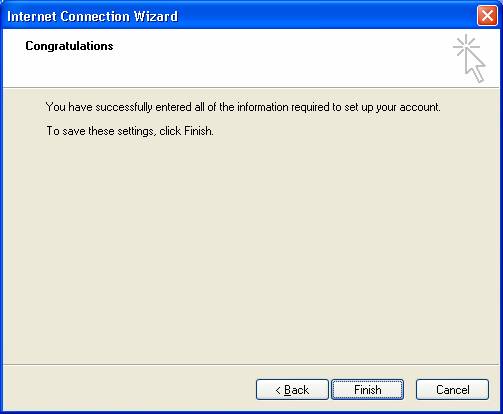
- Click Finish to complete the Internet Connection Wizard.
- The Outlook Express window will open. Select Accounts from the Tools menu. The Internet Accounts window will open.
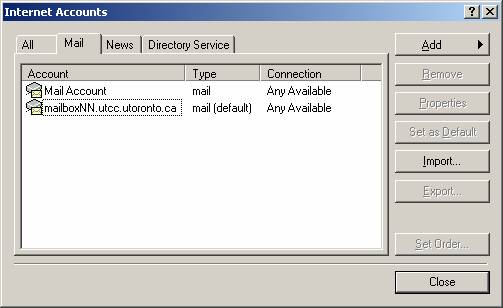
- Click on the Mail tab and select your UTORmail account (this should appear in the form mailboxNN.utcc.utoronto.ca).
- Click Properties. In the General tab, delete the name mailboxNN.utcc.utoronto.ca and replace it with UTORmail.

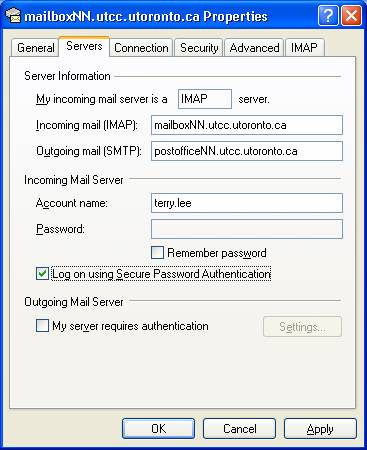
- Click on the Servers tab and check the box beside Log on using Secure Password Authentication
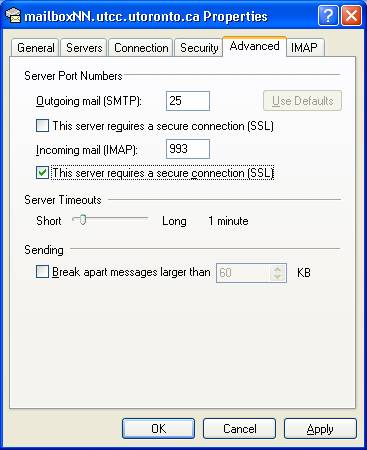
- Click on the Advanced tab and check the box beside This server requires a secure connection (SSL). Note that the port value automatically changes from 143 to 993.
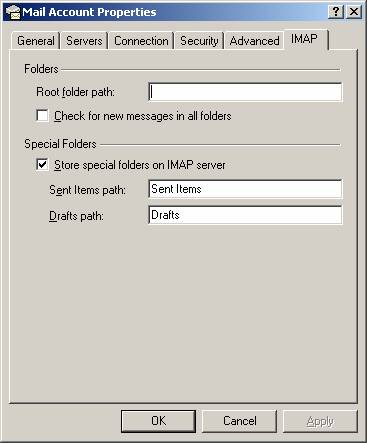
- Click on the IMAP tab and uncheck the box beside "Check for new messages in all folders"
- The next window tells you that the configuration was successful. Click OK.
How to Get Help
If you have questions about installing or using Internet Explorer version 5.5, please contact the Information Commons Help Desk at:
- Robarts Library, First Floor,
Phone: 978-HELP (978-4357)
E-mail: help.desk@utoronto.ca (For faster service, please include your Library number with your question).
Please have your installation instructions with you when you call.
March 29, 2007