
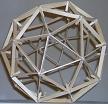
Calculations were performed to determine points. An Icosahedron was used as a basis. The centriod of its triangles was found and a line connecting the centre of the icosahedron to the centroid was projected onto the surface of the sphere the icosahedron was inscribed in. The intersections became the new verticies.
Two new points were calculated this way. The distance between the new point and a point on the original triangle became one of the side lengths. The distance between the two new points was the second side length (as the points were from adjacent triangles). Simpe Trigonometry was used to determine the angles at which the sides met; because the ends of the sides are on the surface of the sphere, two lines from the centre of the sphere to each of those points would form an isosceles triangle with the side. Knowing the side's length and the radius of the circle, the triangle is fully known (SSS). The angle at which sides meet can then be calculated.
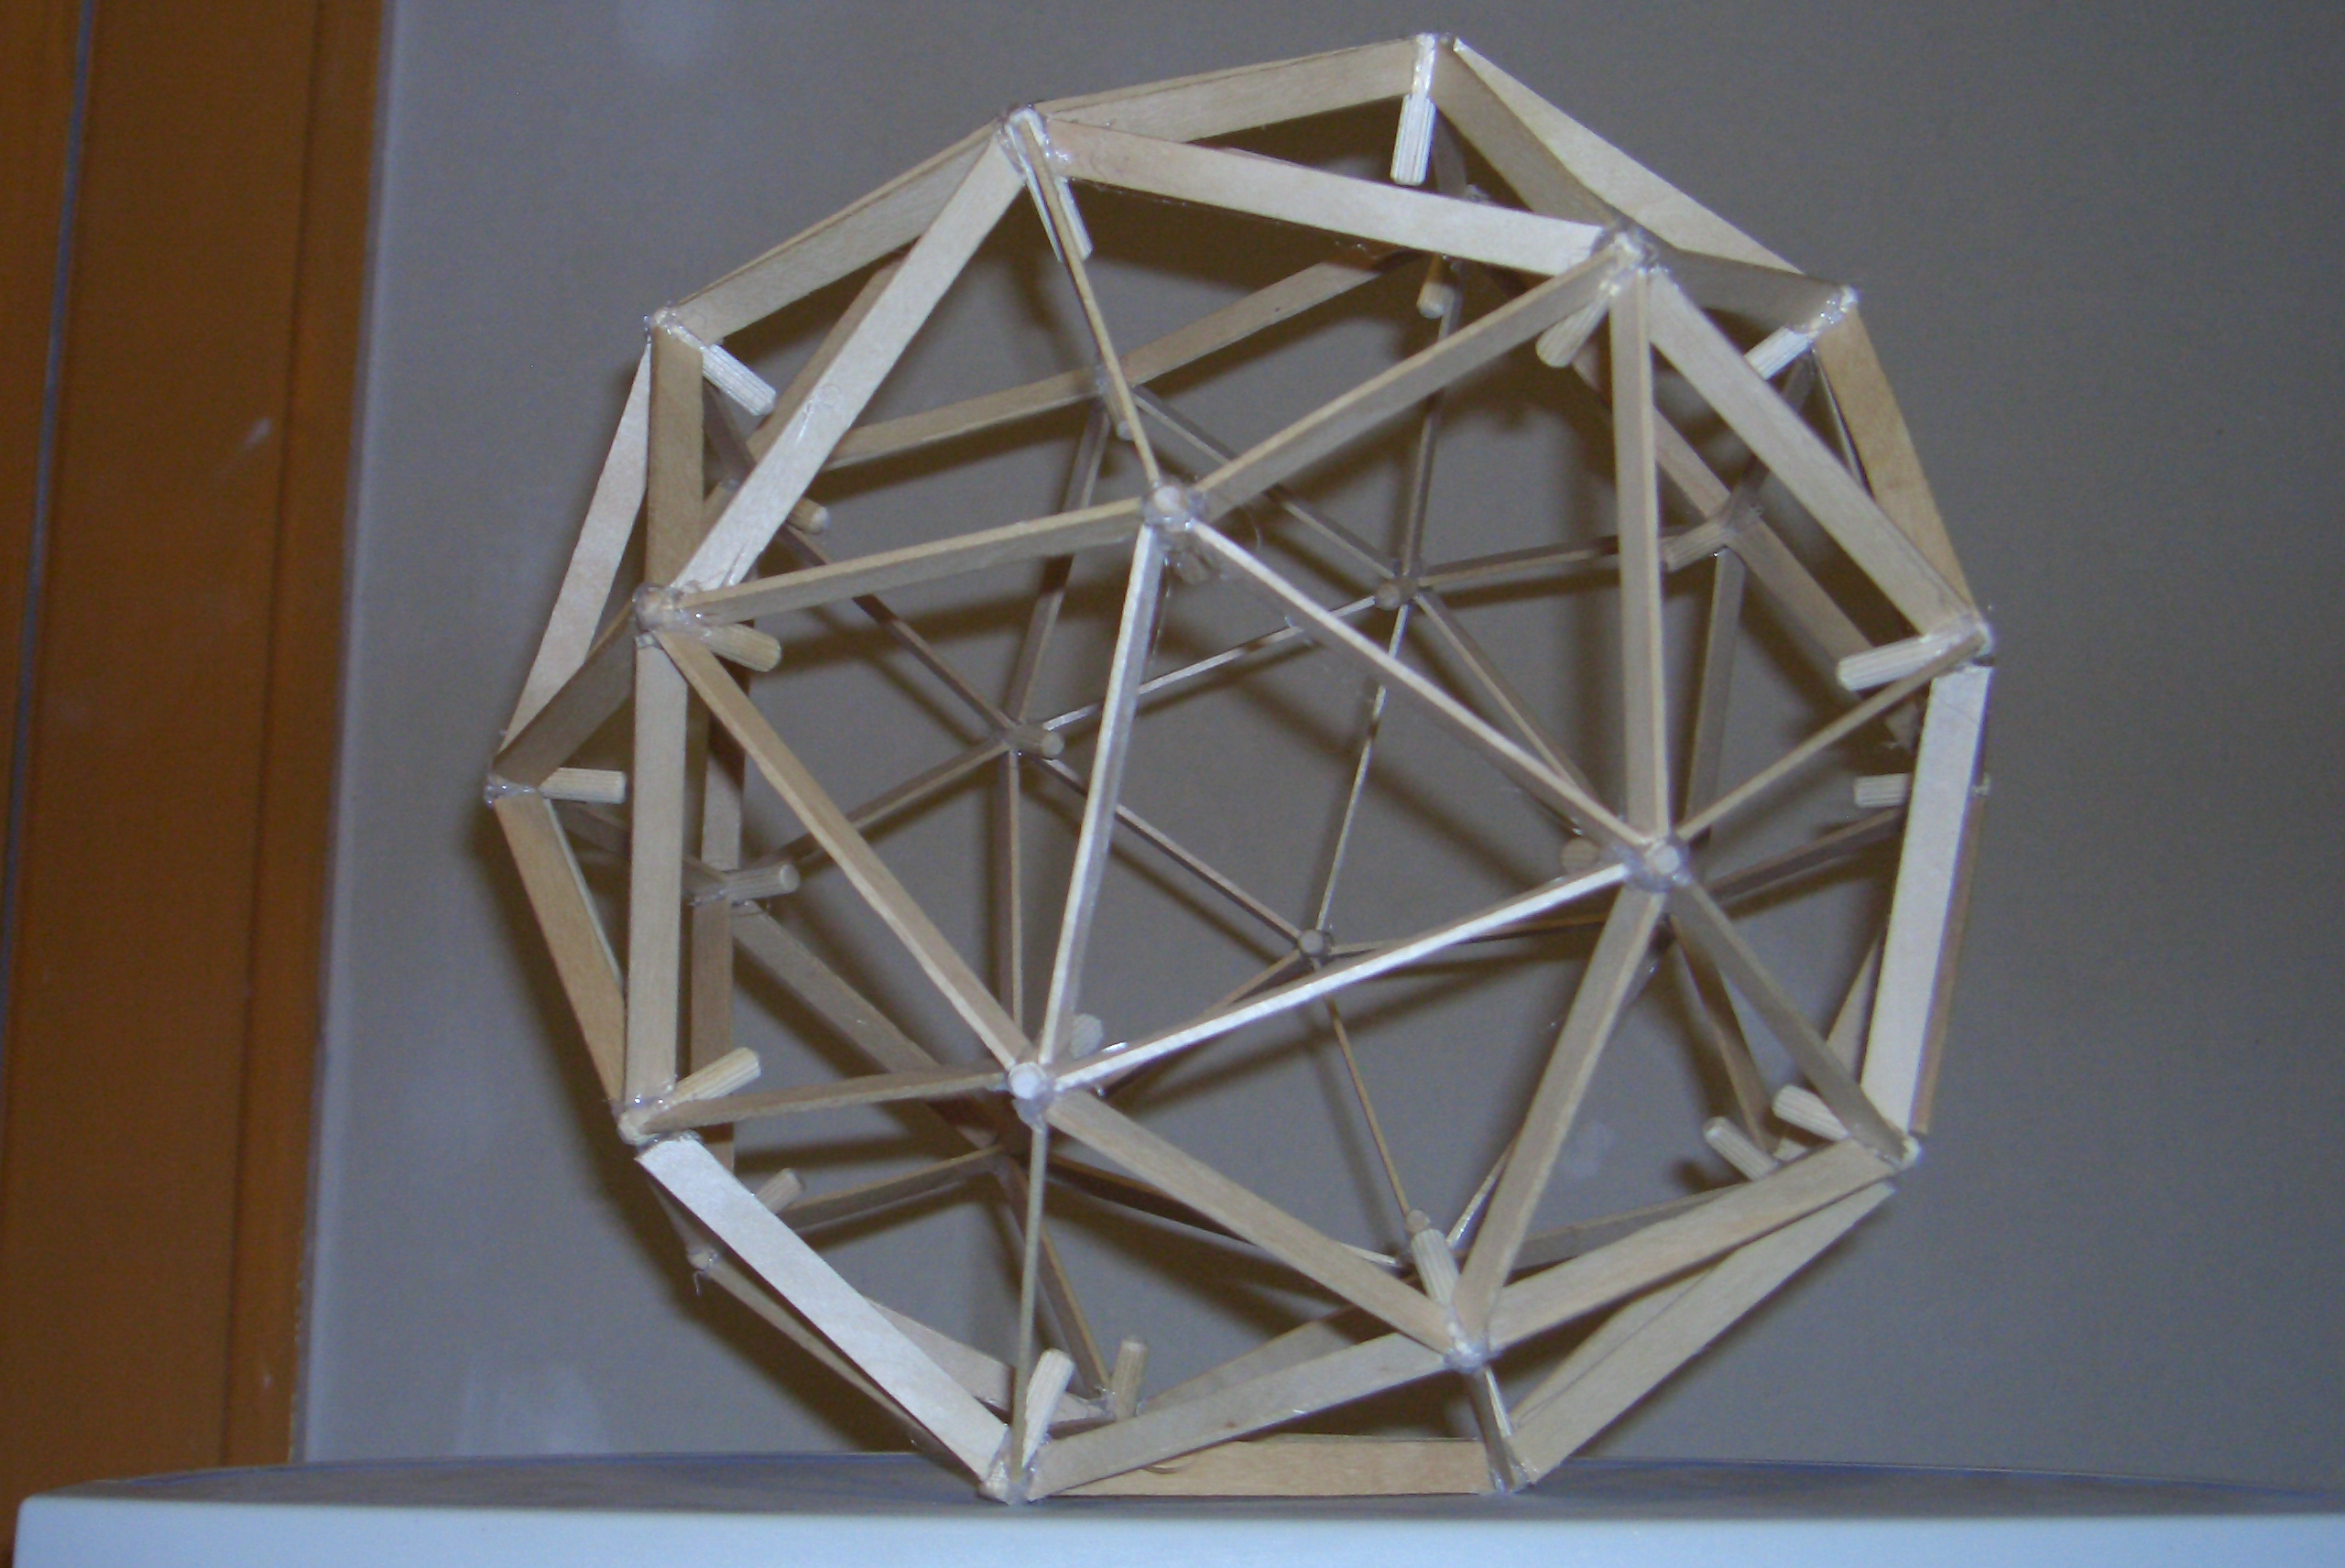
Picture With Wiki Open
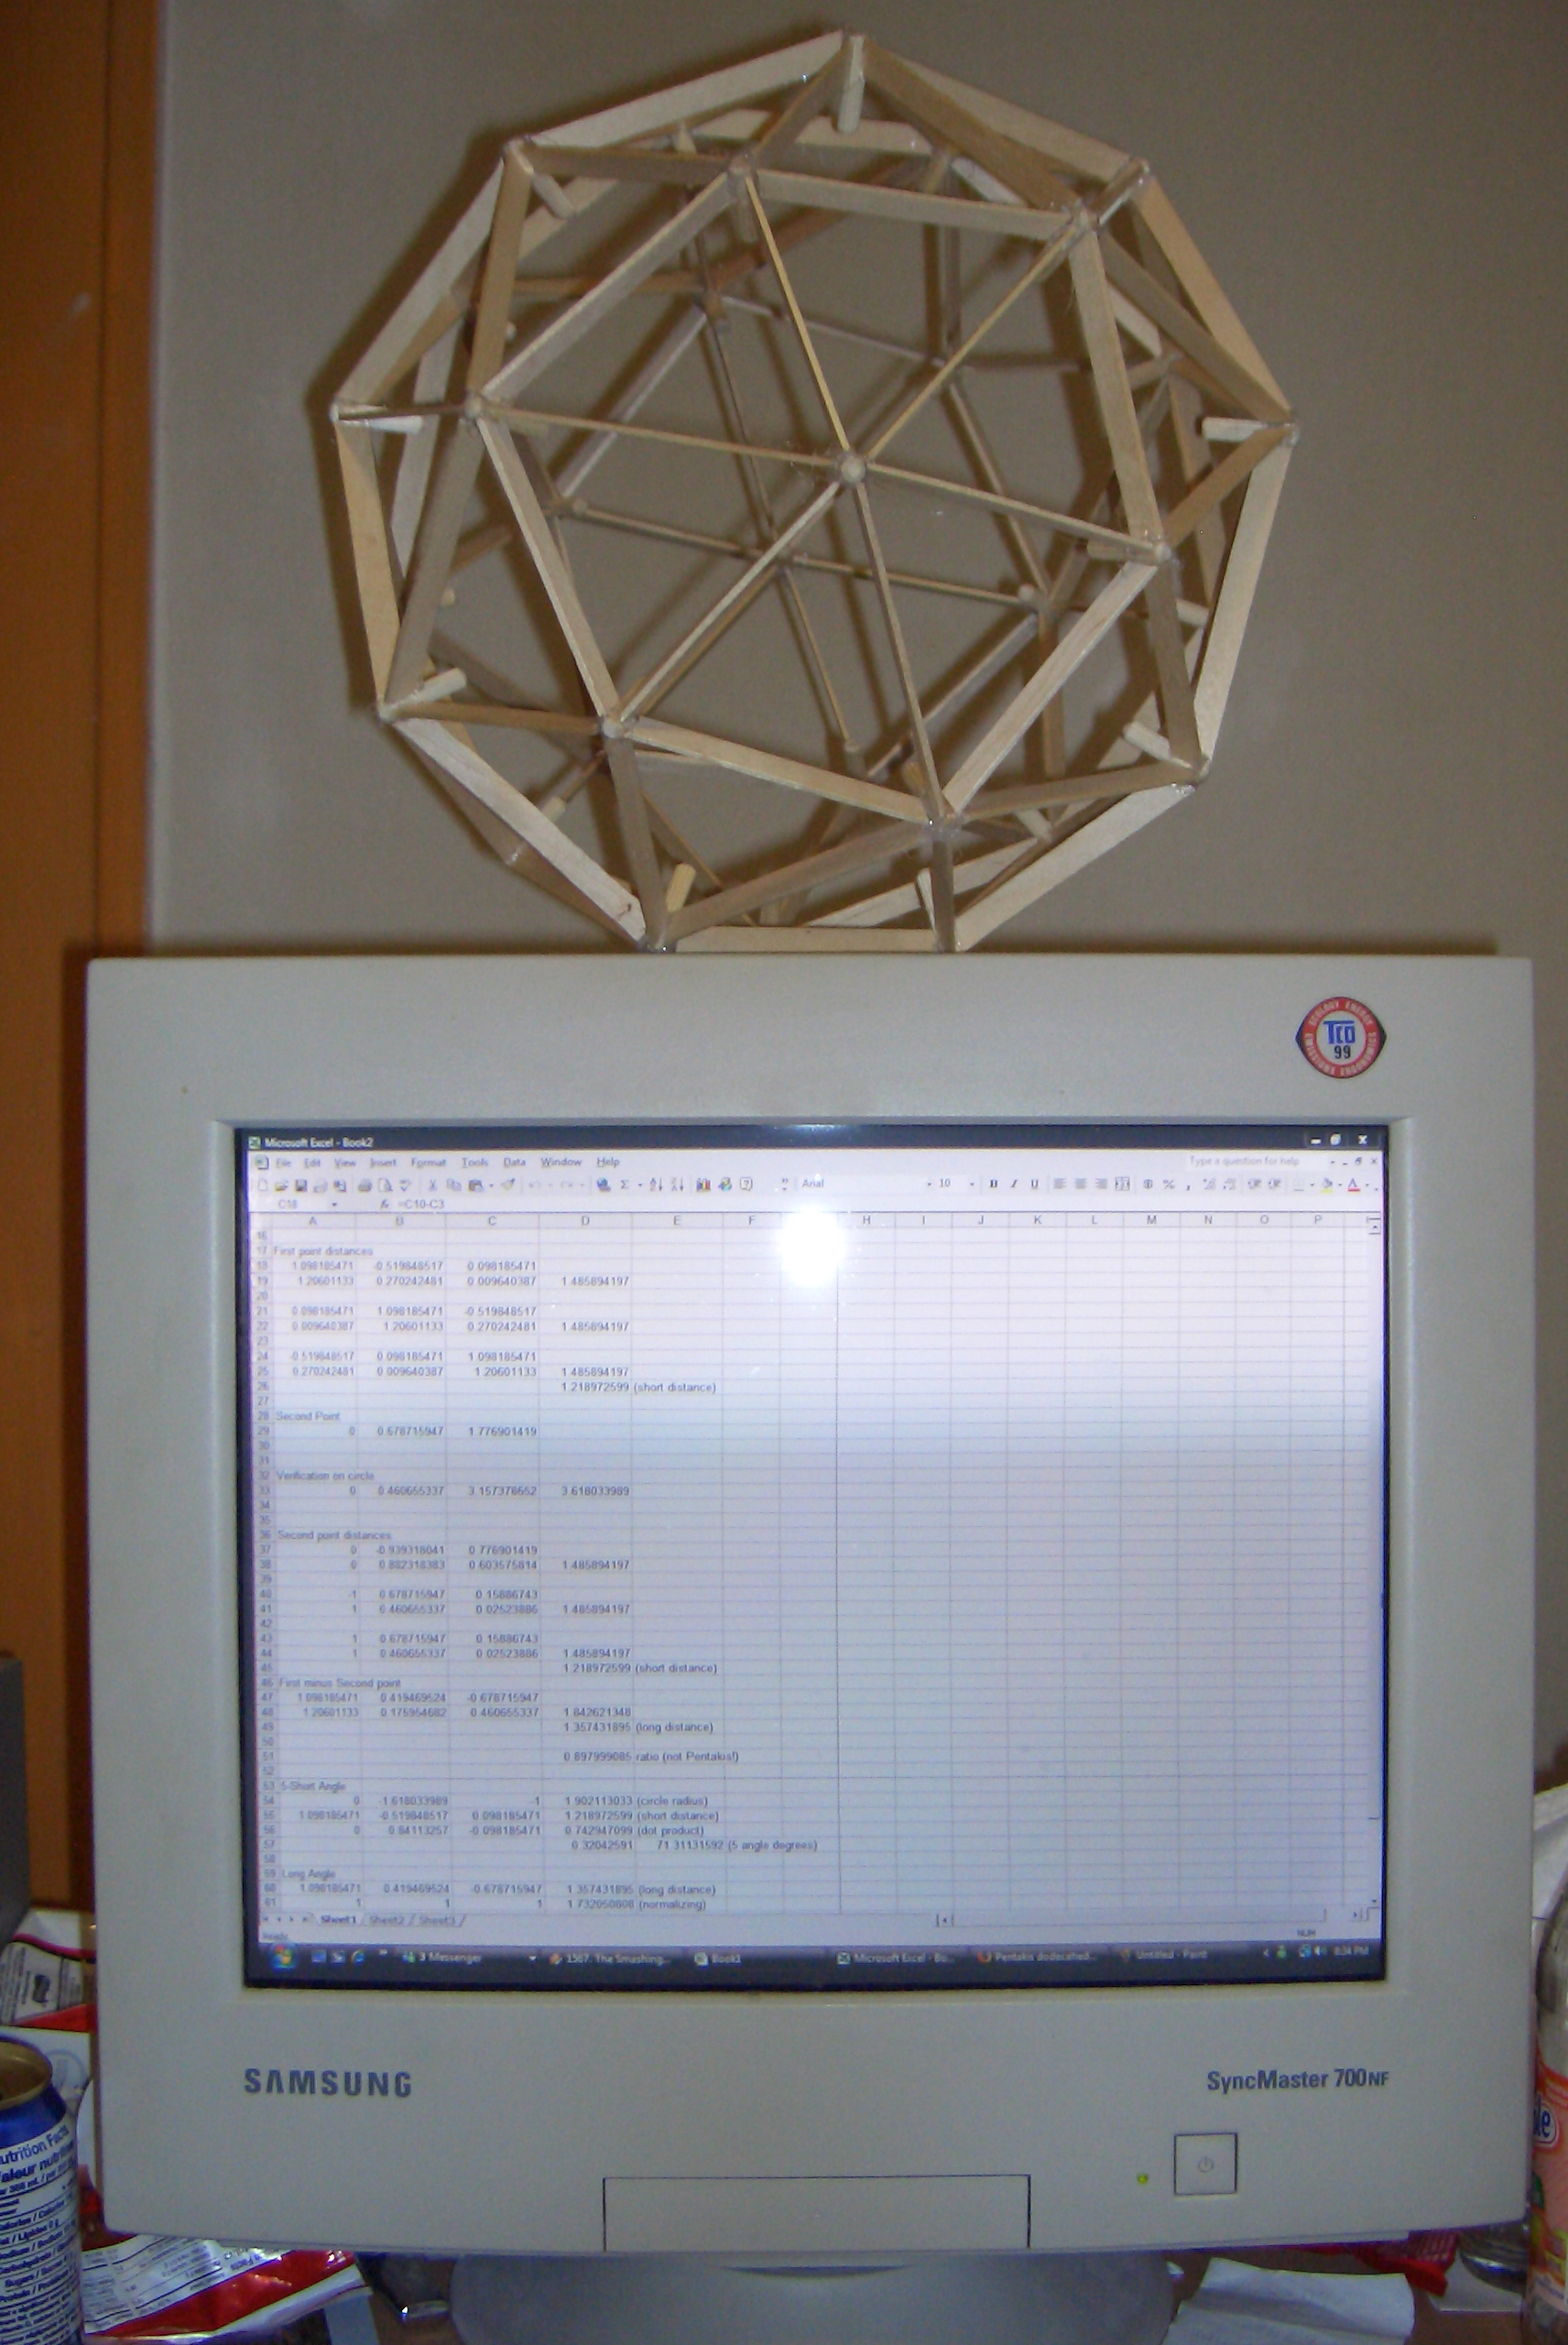
Picture with Calculations Open
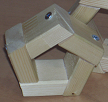
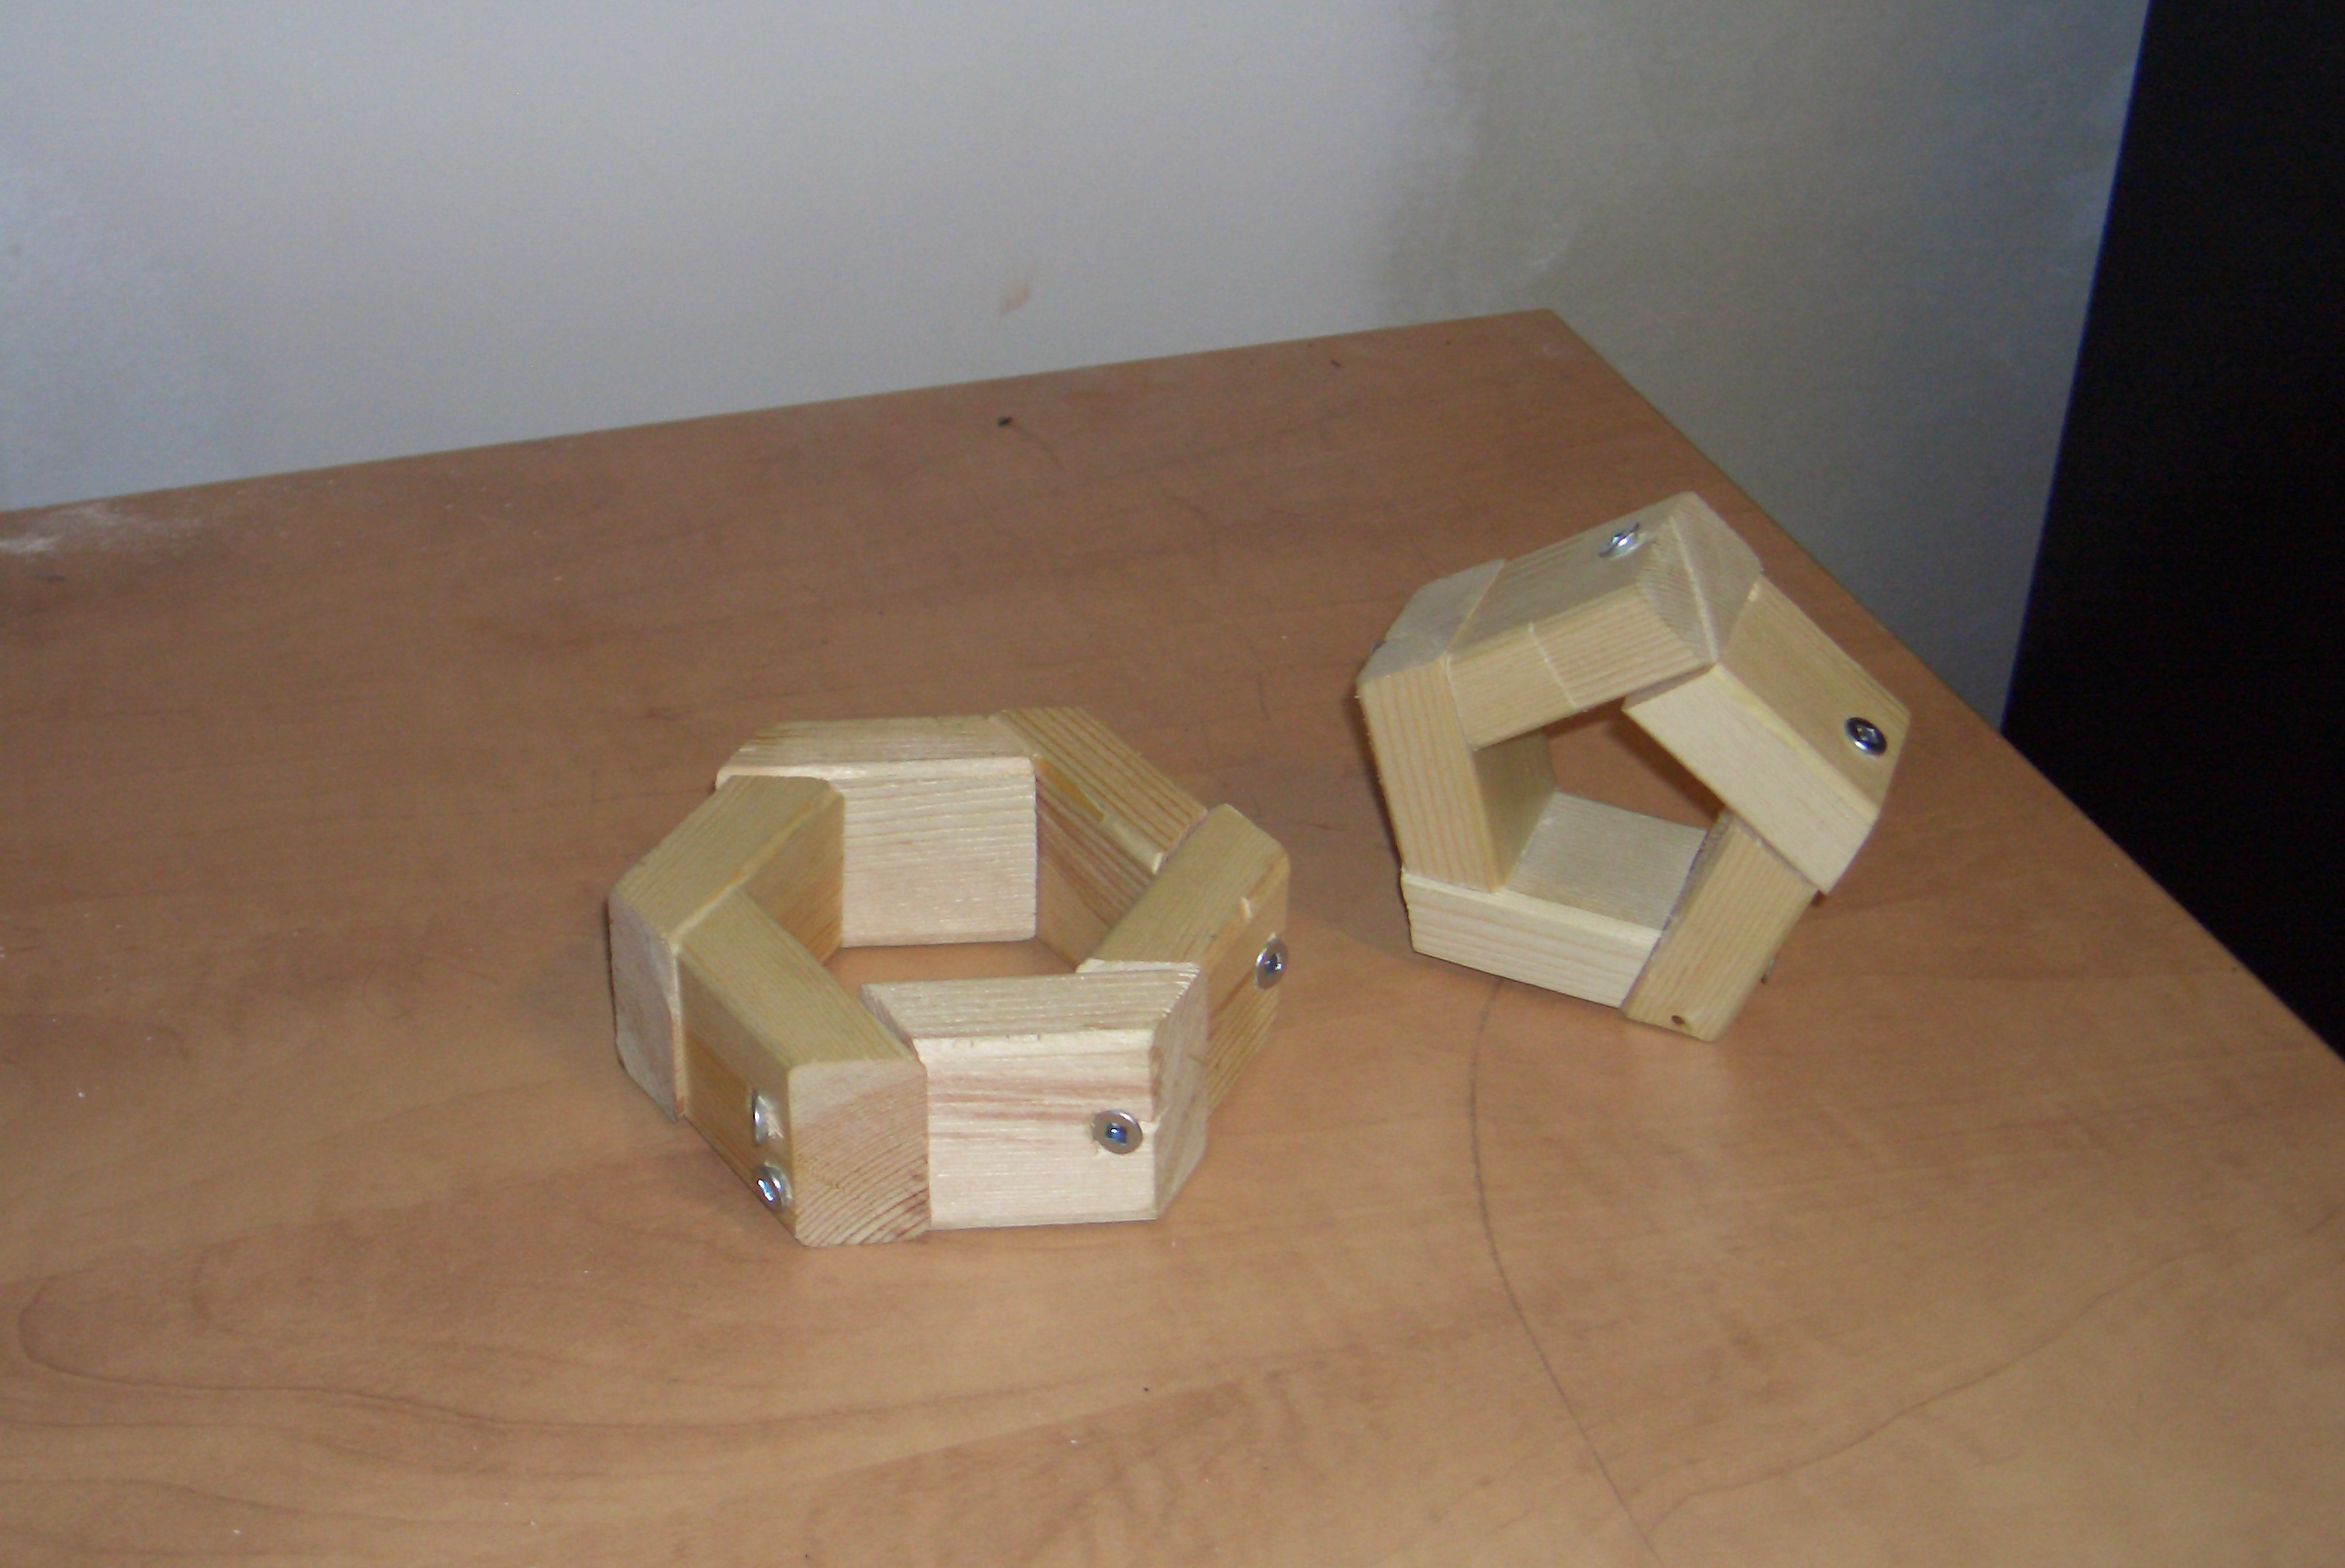
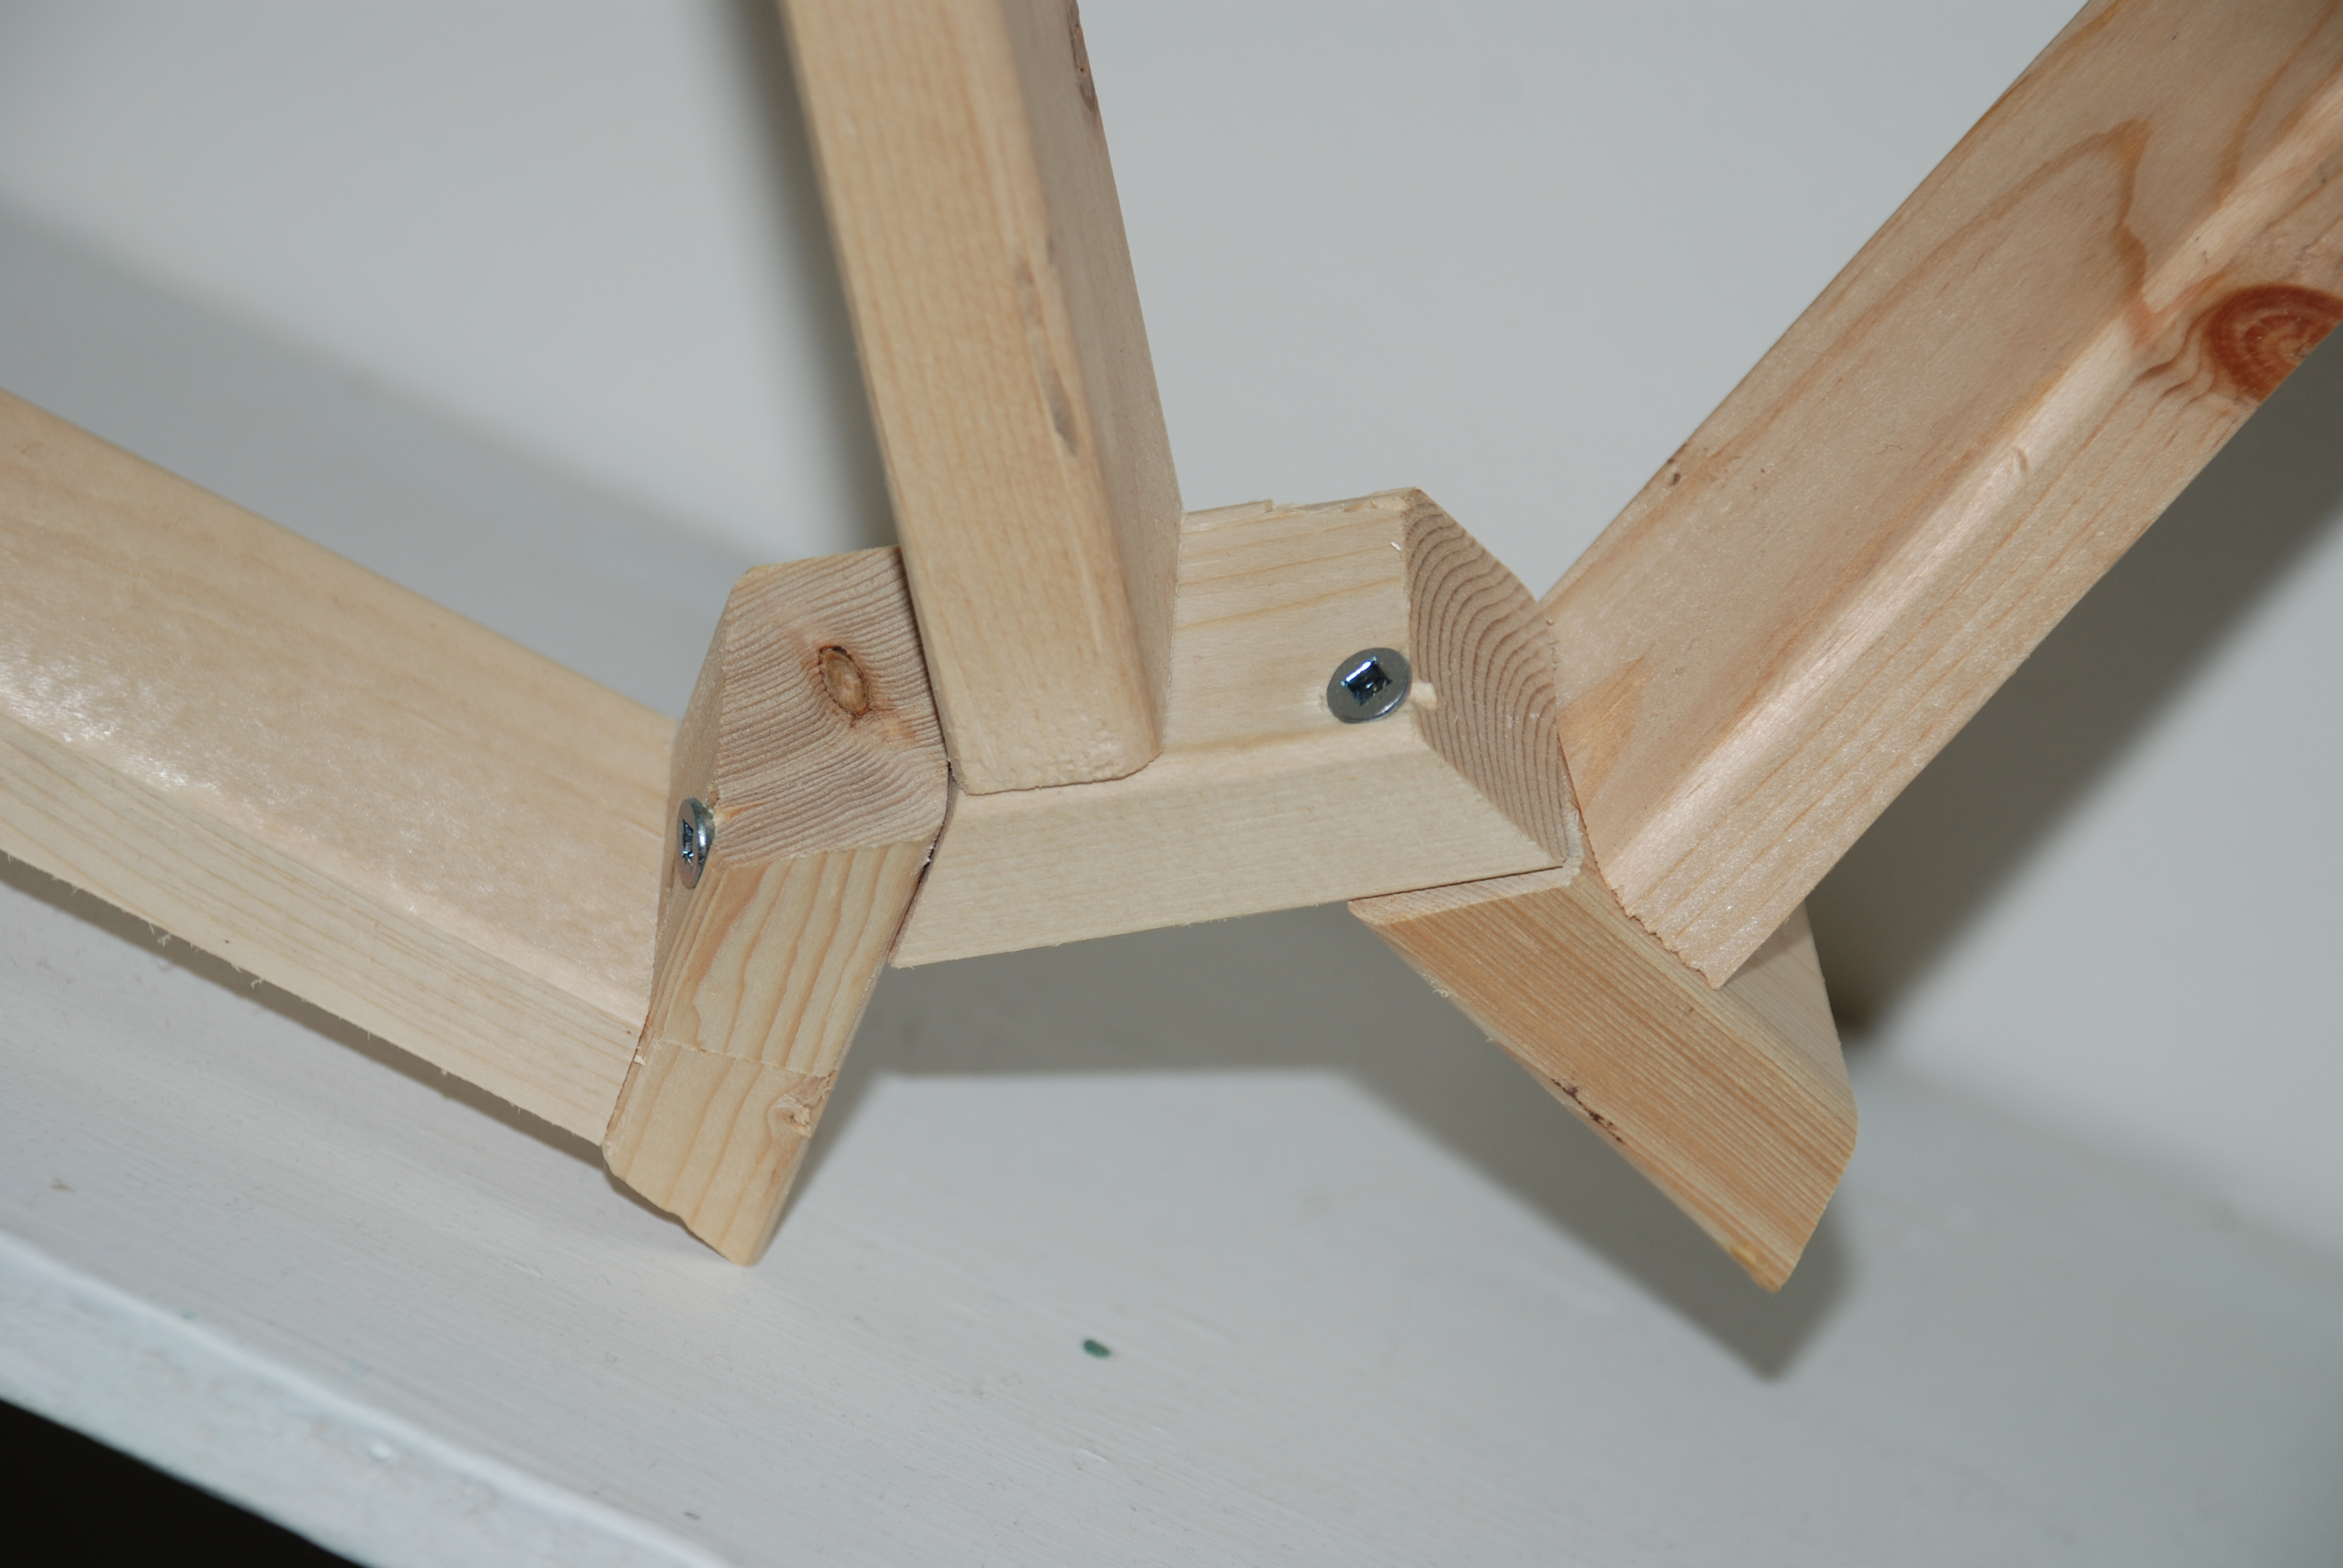
One of the biggest mechanical challenges of this project involves the design of strong, easily fabricated corners. The shed has 12 pentagonal and 20 hexagonal interfaces between its edges. After realizing that cutting hexagons out of a solid block of wood wasn't working out too well, a second approch which used aggrigate corners was explored. This approach will be used to construct the second prototype.
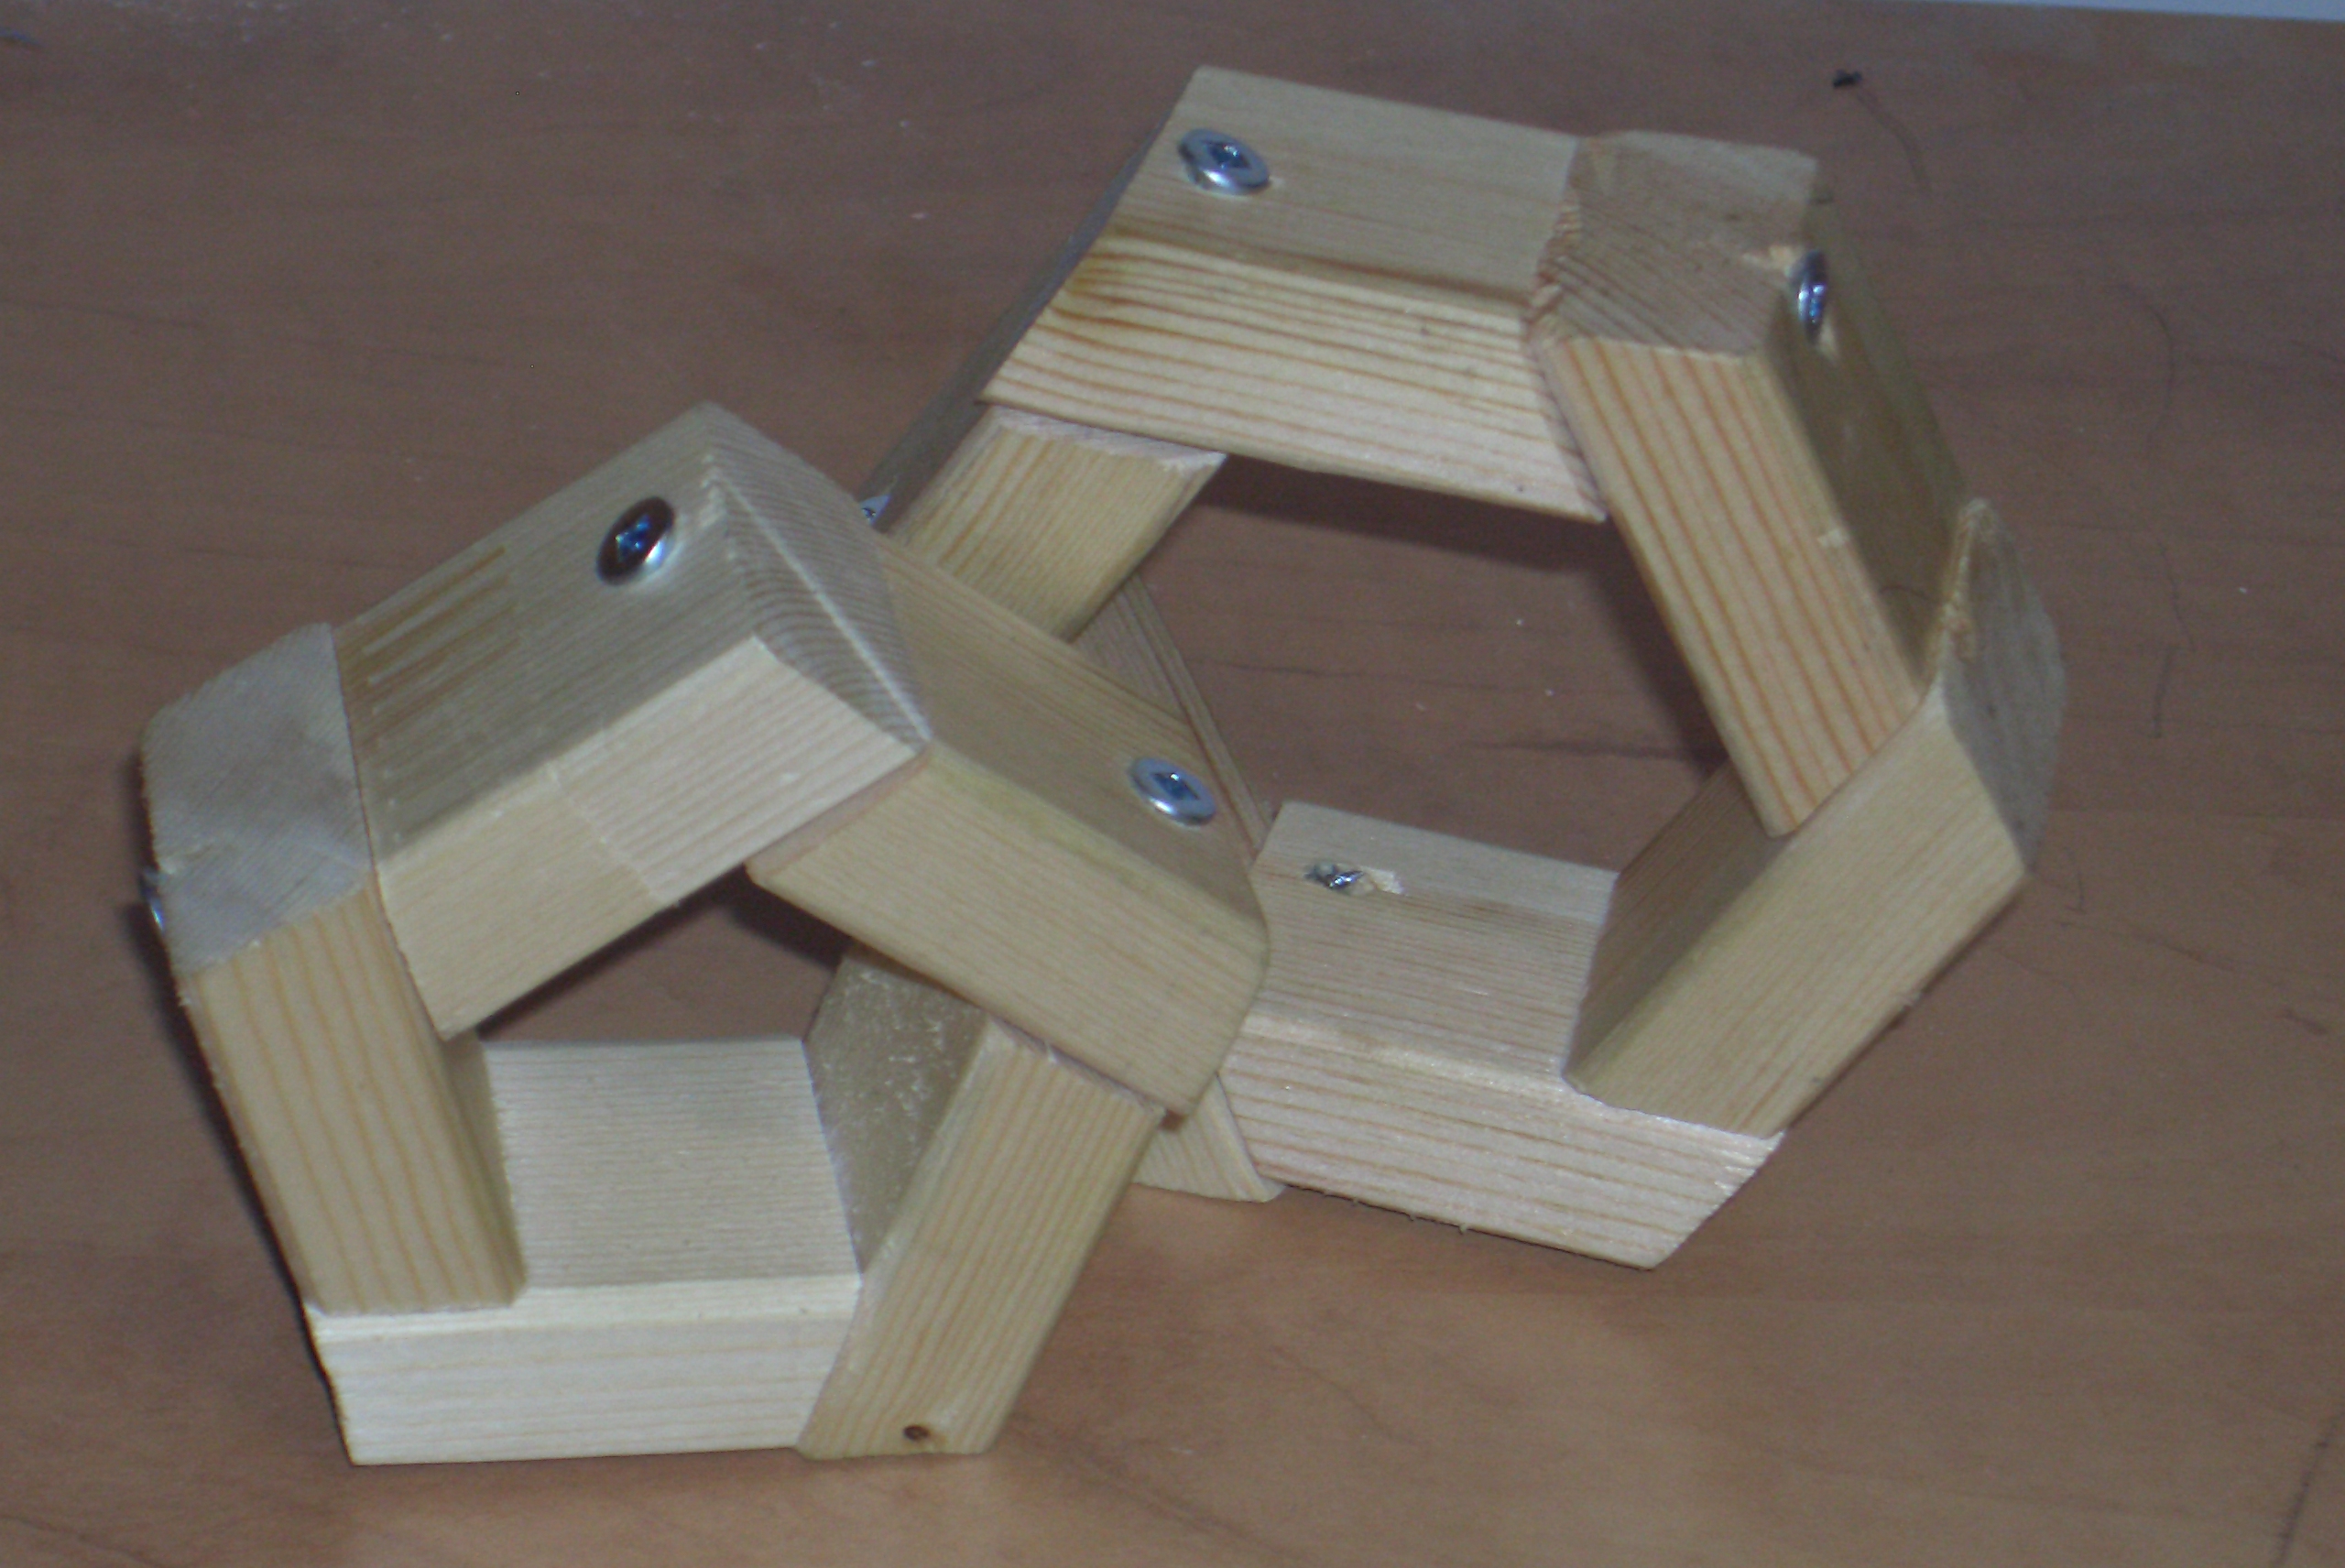
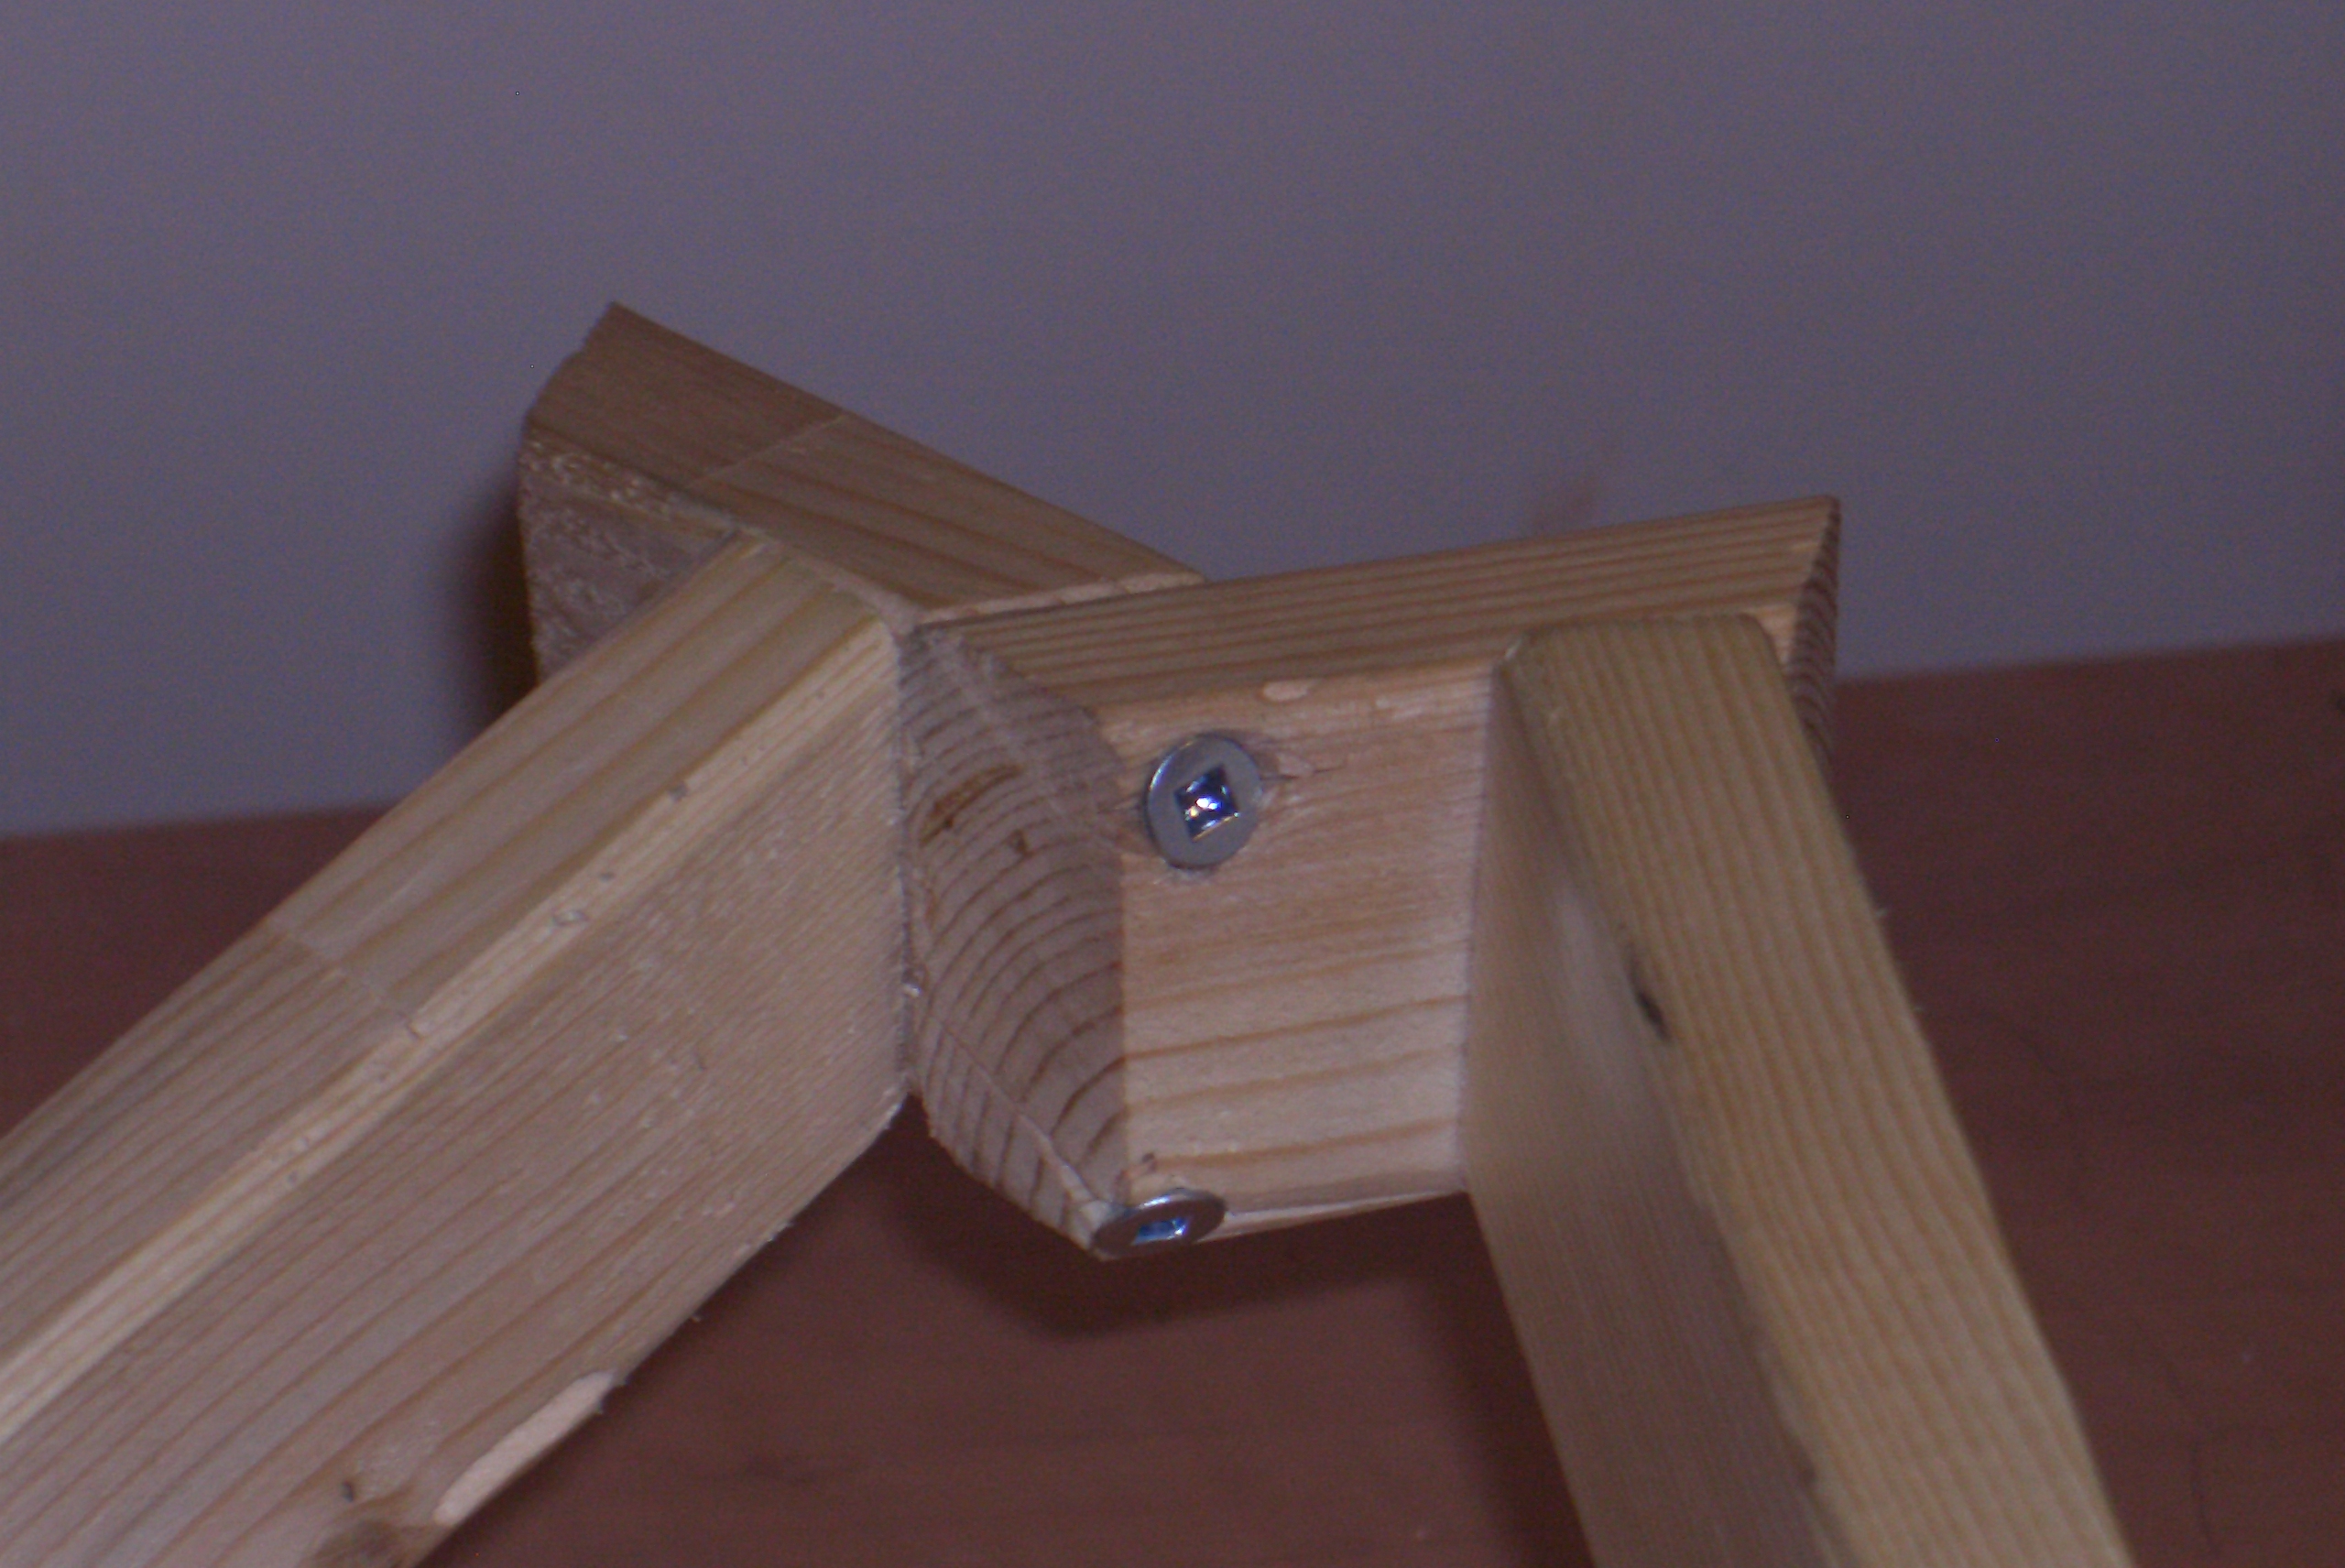
A corner with two sides attached to it was assembled by first screwing the hexagon sections to the sides and then attachting the hexagon sections together. It was felt that completing the hexagons and then trying to screw sides in would be too difficult, but, using a long bit, it seems that this can be accomplished by screwing it in at an angle. Take a look at the pictures.
Another picture of the corners
Two sides of a hexagon with sides attached
Comparison of hexagon to part of hexagons with sides attached
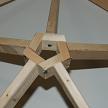
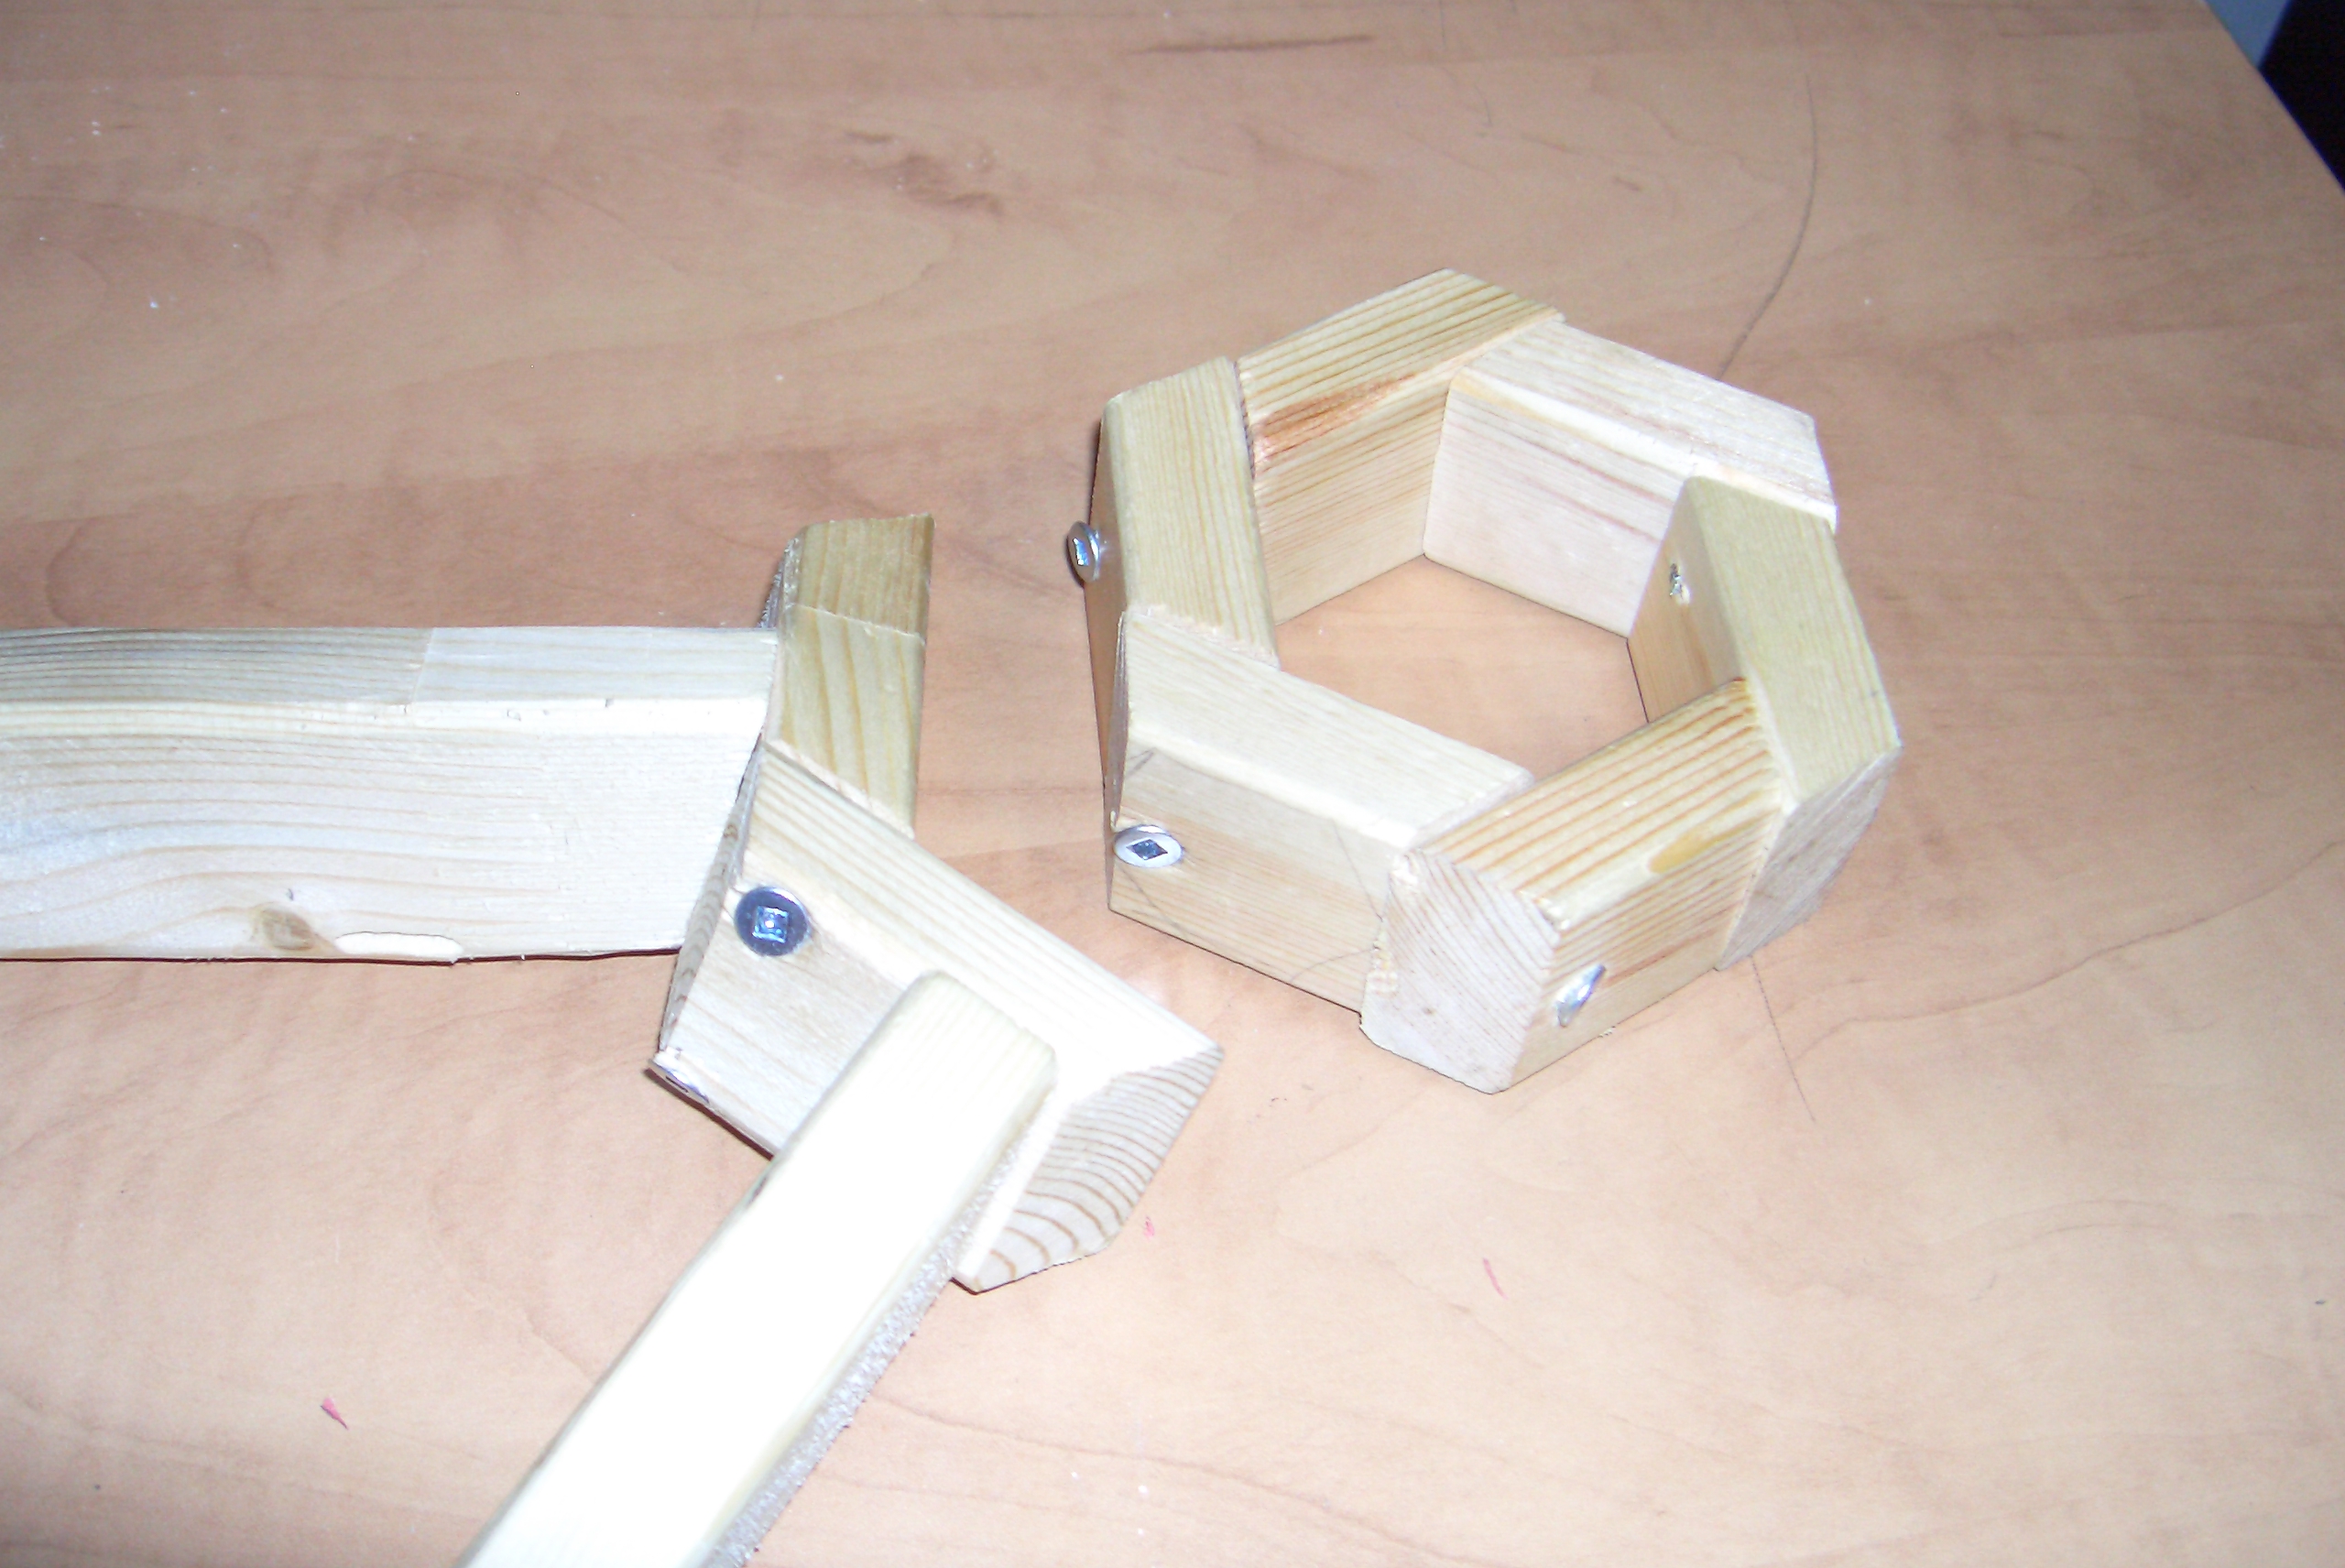
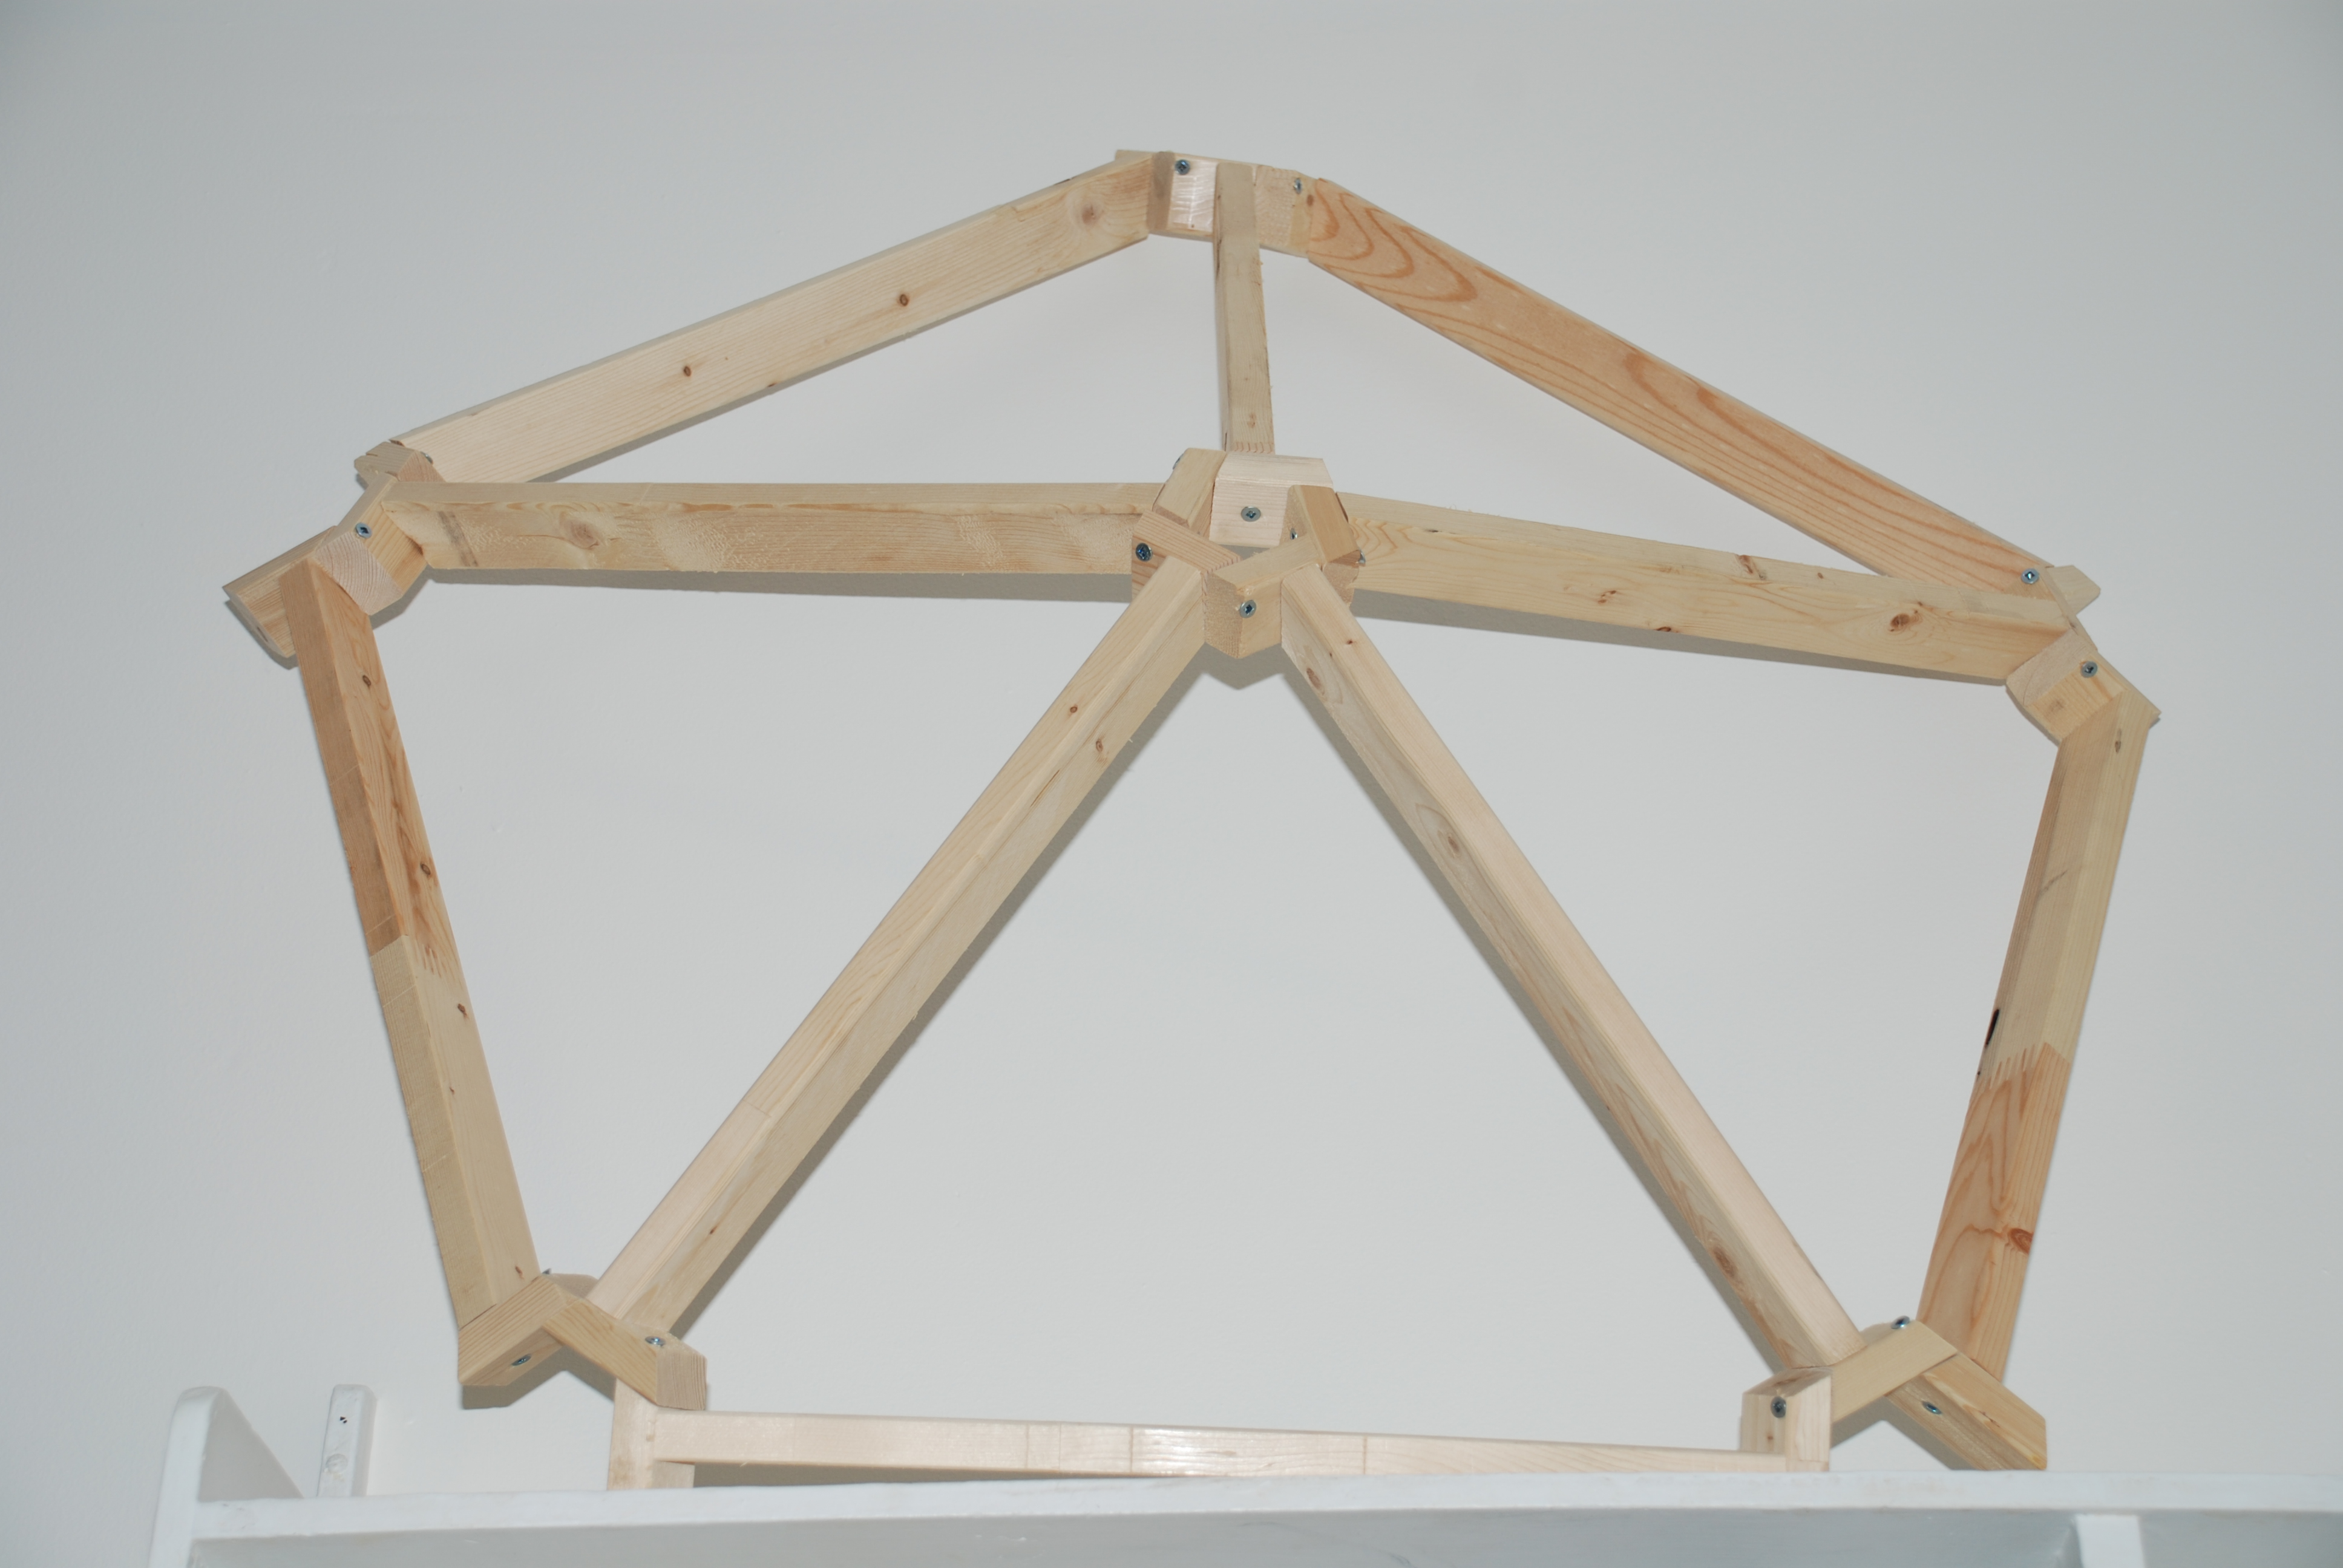
5 of the 60 triangles of the second prototype can be seen here completed. Check out the pictures. The one with the pentagonal node is particularly nice.
The triangles were assembled by first attaching the two terminating pieces of wood to the actual longer memebers. After this was done, the terminating pieces of wood were screwed together such that they would eventually form a hexagon or pentagon. Problems were encountered at this final step because of the tight quarters the power drill had to operate in.
Pre-drilling was considered, but matching up the two terminating pieces of wood was a big conern. If this project continues, this will have to be addressed. A completely new scheme might be considered.
Fully-connected pentagonal node
Partially-connected hexagonal node