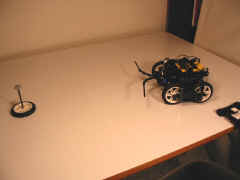
This robot was built for a local Lego robotics competition put on by rtlToronto. It was called 'A Bridge too Far', since the object of the contest was to build a robot that could somehow get across a 12 inch gap between two tables and then pick up a flag. Three tables were set up in a row with a 12 inch gap between them. A single flag was placed in the center of the middle table, and two robots would go head to head and try and capture the flag first.
The Robot |
|
|
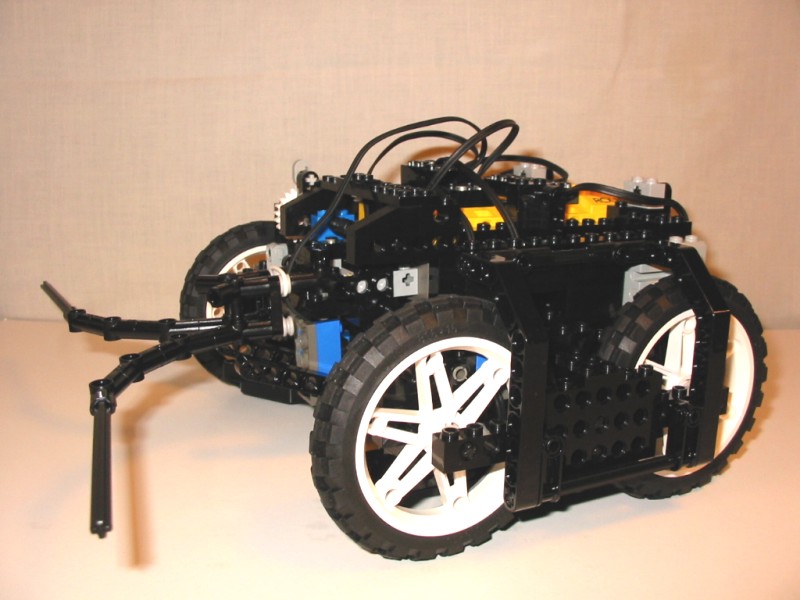
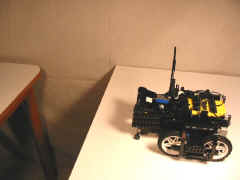
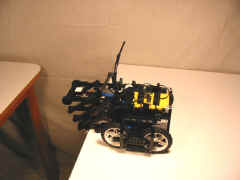
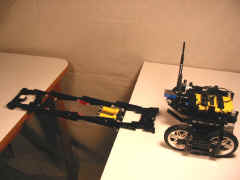
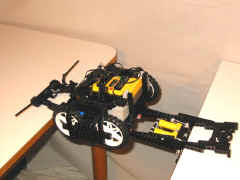
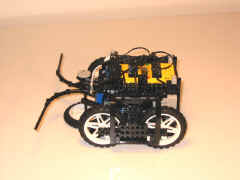
A nice side view of the robot without the bridge. The 'feelers' up front were used to detect the flag by means of touch sensors. The whole assembly would then rotate up to lift the flag. The head starts in an upright position so as not to get in the way of the bridge. |
|
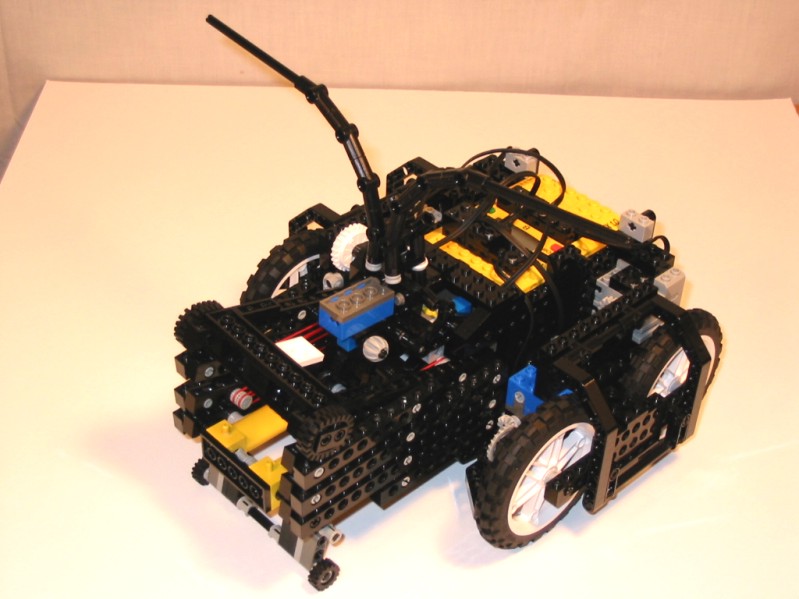
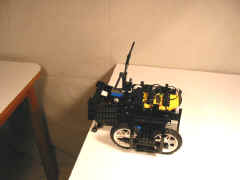
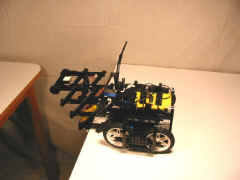
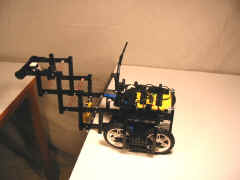
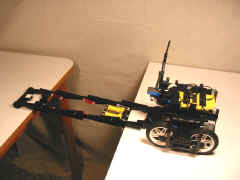
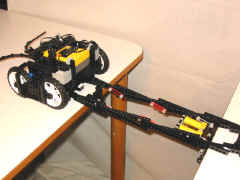
Here is the robot with the bridge loaded and ready to go. The bridge is a 'one shot deal' mechanism. It consisted of a spring loaded scissor link bridge with two pneumatic cylinders to act as dampers. When loaded, the bridge is held with two forks at the bottom, and is prevented from expanding by an overhang that is part of the robots frame. |
|
|
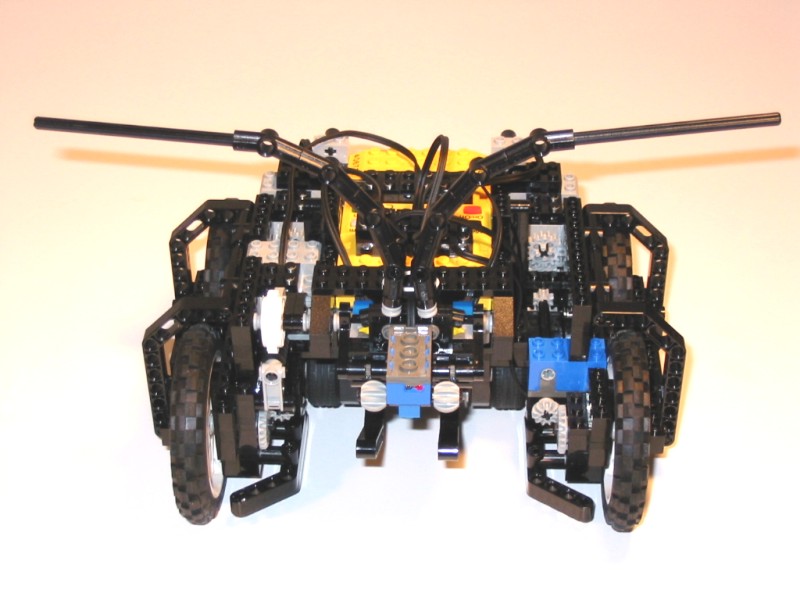
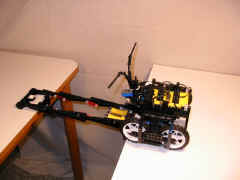
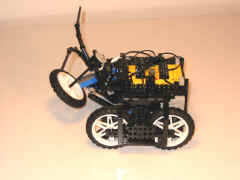
Front view with the head raised. The light sensor on the head served several purposes: First, it detected when the bridge had been deployed. Then it was used to see the end of the bridge as the robot drove across, and finally it was used to detect when the flag was far enough in to be lifted. You can see the forks that hold the bridge below the head. |
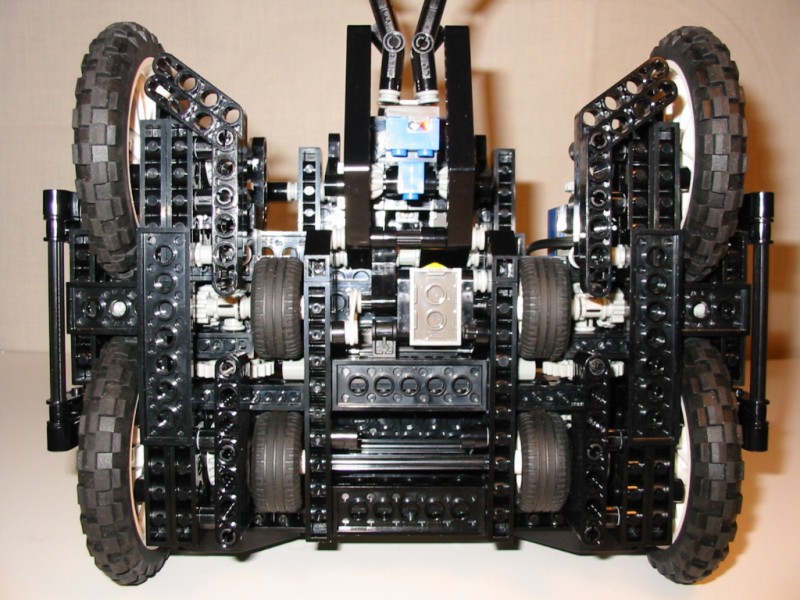 |
The bottom of the robot. You can clearly see the small wheels used to drive over the bridge and the guide rails to keep the robot on it. The touch sensor was used to detect when the edge of the table is reached. The small wheels on the bridge fall off the edge, and the forks lower to press against the sensor. |
 |
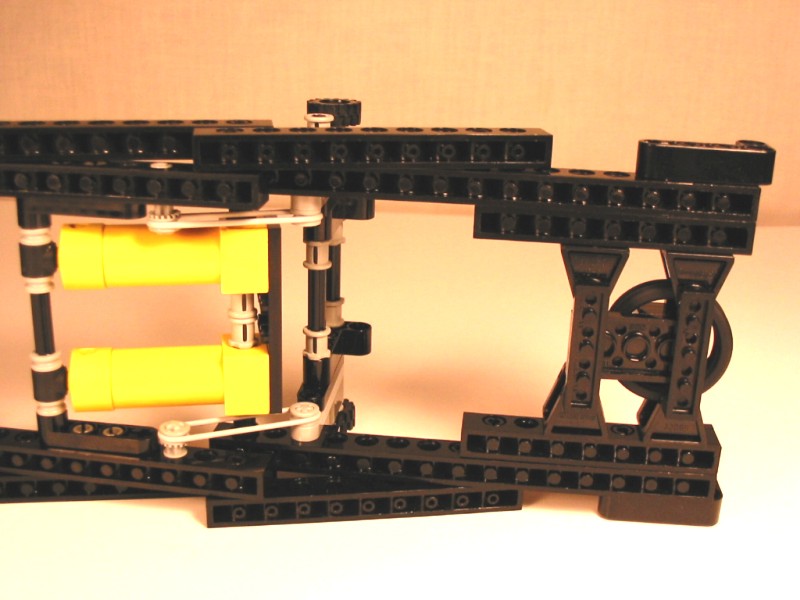
This shot shows the robot just getting on to the bridge. The guides run along the sides of the bridge and keep the robot aligned, and the robot drives across on the small tires. Unlike in the crevasse crosser, I geared these small wheels faster, so whether the robot was on the table or on the bridge is moved at the same speed. This made for much smoother transitions on and off the bridge. For the gearheads out there, this is how I figured out the proper ratio: Most Lego wheels have the diameter written on the side. The big wheels are 81.6 mm, while the small wheels are 30.4 mm. This means that the ratio between the two is 2.6842:1. So I needed to come up with a gear ratio as close to this as possible. I ended up using one of the 12t double bevel gears on the main axle driving an 8t gear. This gives a ratio of 1.5:1. The big wheels are driven from the main axle with a 12t to 20t bevel gear arrangement, giving a ratio of 1.666:1 (you can see this in the picture). So the final drive ratio between the two wheels is 2.5:1 which is very close to 2.6842:1. |
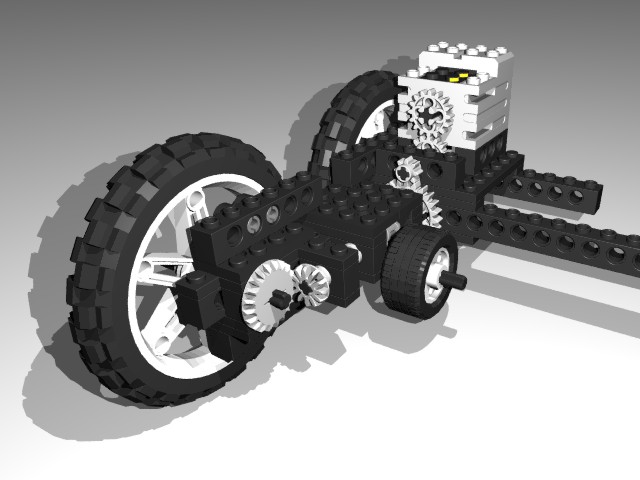 |
Here are a couple renderings of the drivetrain. This one shows the complete assembly. The reduction ratio from the motor to the big wheels is 5:1. |
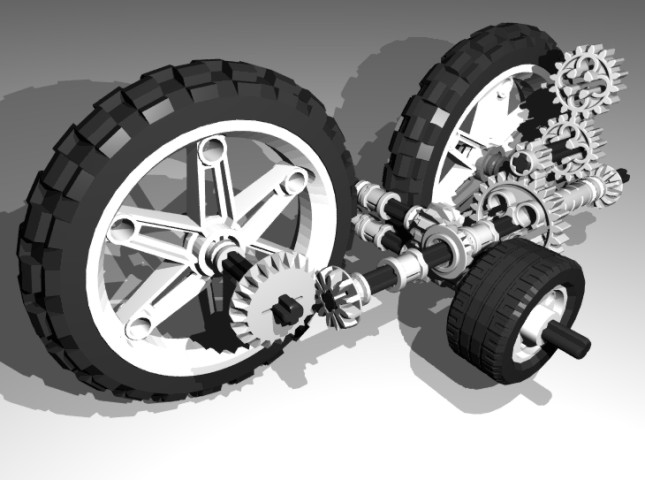 |
This rendering shows only the gearing. The small wheel is driven by an 8t gear (not visible) underneath the 12t double bevel gear. |
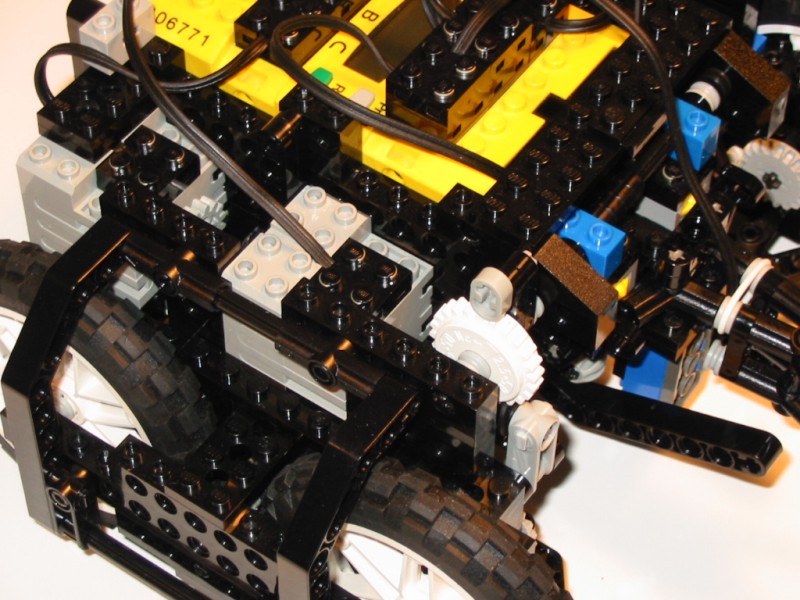 |
This is a close up of the gearing used to lift and lower the head. It turned out the clutch gear did not have enough friction to lift the head on is own, so I added the small crankshaft piece. This effectively increased the friction, but still allowed slippage if the motor drove past one of the limits. |
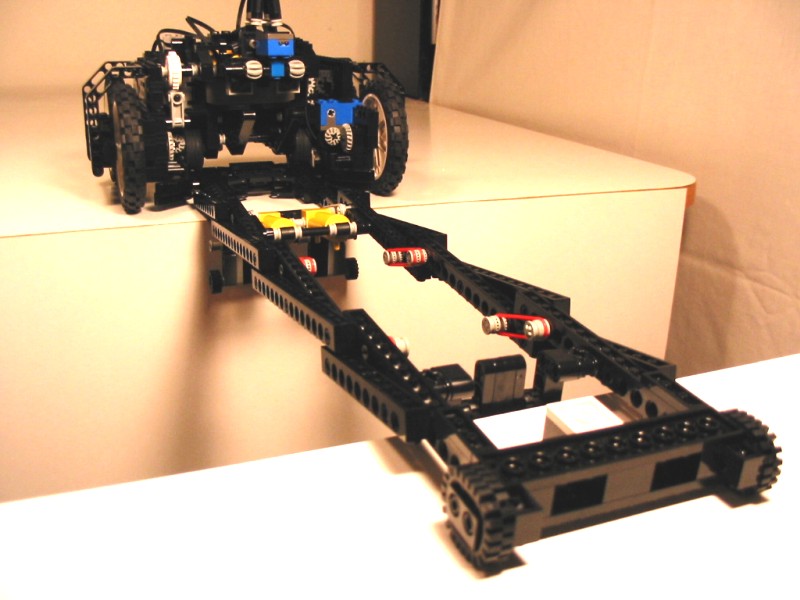 |
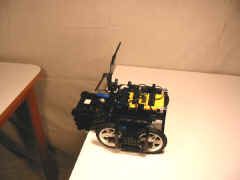
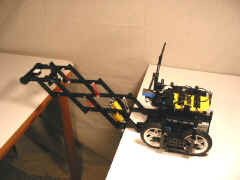
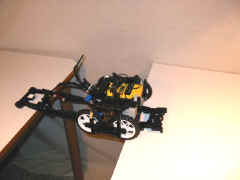
This is what it looks like when the bridge is deployed and the robot is ready to cross. The rubber tires on the end of the bridge provided grip and cushioned the impact upon hitting the table. They reduced a loud crashing sound to a dull thump. |
 |
A close up of the bridge showing the pneumatic cylinders. They were not connected to anything, they just acted like dampers to keep the spring loaded bridge under control. This system is exactly like the spring and damper on a screen door. Without the dampers, the bridge would expand too fast and launch across the room. The thin tires at the end of the bridge provided a friction fit with the forks on the robot. This prevented the bridge from shaking loose from the robot as it deployed. |
Deployment Sequence |
|
| To deploy the bridge, the robot drives forward until the front legs on the bridge fall off the edge of the table. This triggers a touch sensor so the robot knows it has reached the edge. When the robot backs up, the bridge remains hooked on the edge of the table so it gets released once it is free of the overhang on the robot. When the robot detects that the bridge has been released with the light sensor, it pauses for a short amount of time to make sure the bridge is fully deployed before it backs up further. | |
|
|
Crossing Sequence |
|
| Once the bridge is deployed, the robot backs up until the forks are clear of the bridge. Then the robot just drives straight across the bridge on its small wheels. The light sensor detects the white square at the end of the bridge, so the robot knows when it has safely made it across. I made the bridge much wider than with the crevasse crosser, so it was much more stable. | |
|
|
Flag Pickup Sequence |
|
| For this competition, the object was to pick up the flag on the center table. Building the bridge was only the means of getting to the flag. | |
|
|
I was very happy with the performance of this robot. I learned from the mistakes I made when building the crevasse crosser (a bridge that was too narrow, poor gearing that skipped a lot, and an unreliable deployment mechanism). Entering robots into two very similar competitions sure gave me a lot of time to develop and refine the mechanics. While the crevasse crosser was frightening to watch, and fell off its bridge more than it stayed on, spiderbot was smooth as silk.